
Why Is My Chocolate Not Shiny?
Chocolate can lose its shine because its cocoa butter has not crystallised as intended, the mould surface is marked, or cooling and handling disturb the finish. First notice whether the dullness covers every piece or follows particular cavities. That pattern helps you choose a useful next check.
Explore The Chocolatier’s Path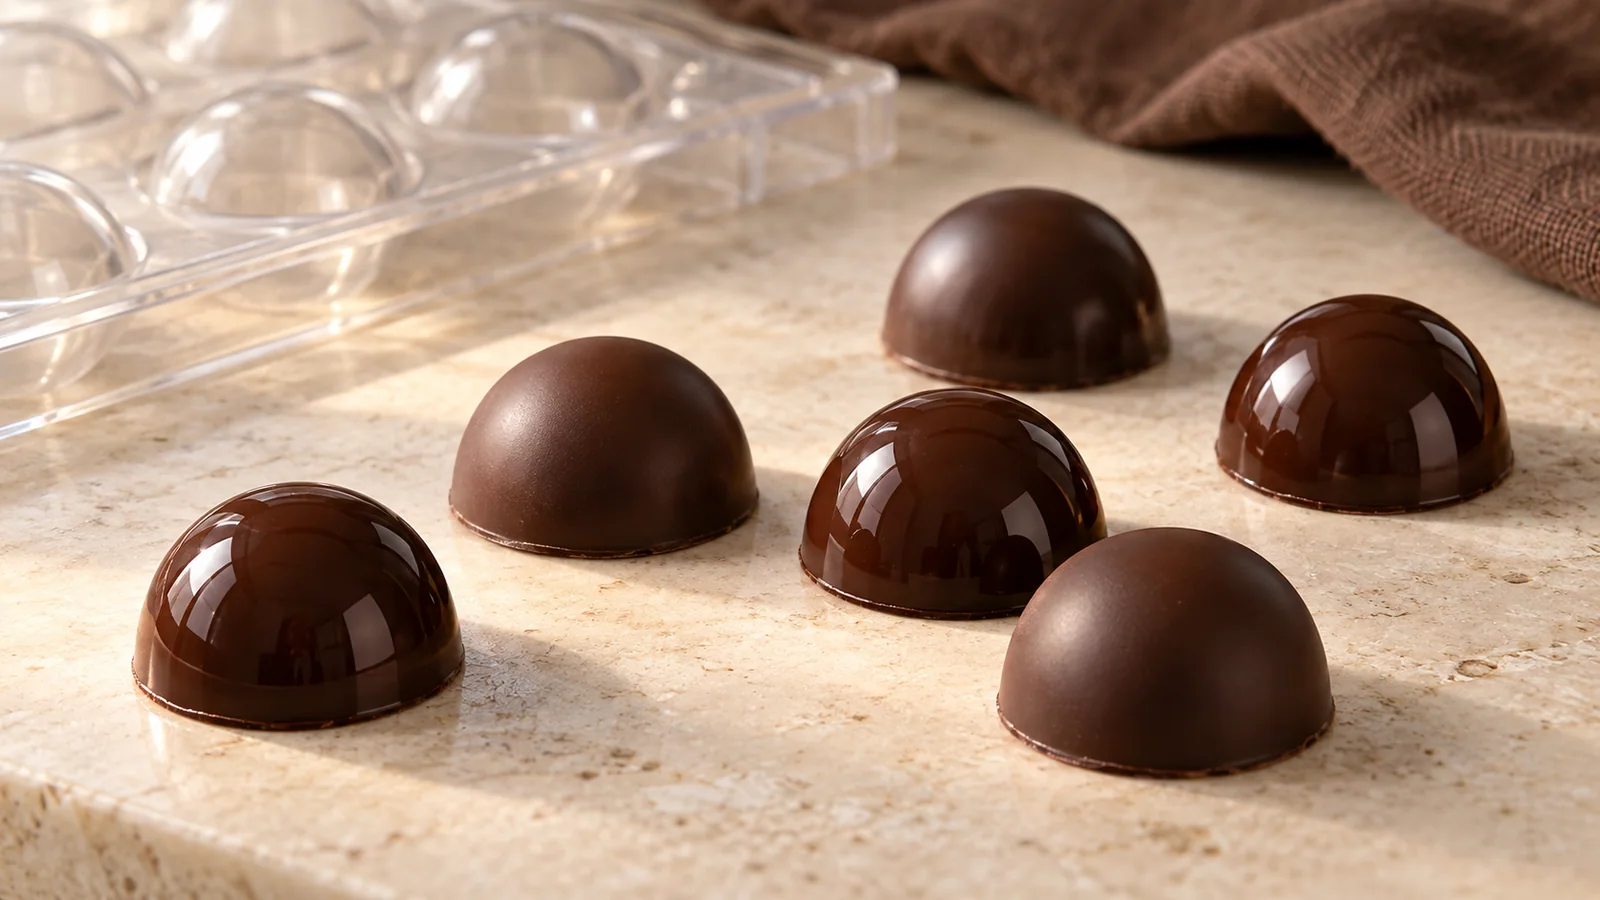
Read the pattern before changing the chocolate
Put several pieces beside their mould and look at them in the same light. A scratch repeated in the same position usually points towards the cavity. Uneven grey streaks across several pieces suggest checking the chocolate and cooling process. A fingerprint that appeared after demoulding points towards handling. These observations narrow the possibilities; none proves a cause on its own.
Record when you first noticed the problem. Chocolate that was dull immediately after release needs a different investigation from chocolate that looked glossy yesterday and developed a pale film during storage. Keep one untouched sample if possible, so polishing or reheating does not erase the evidence.
If a pale film appeared later, compare fat bloom and sugar bloom.
Check temper with a small sample
Melting makes chocolate fluid. Tempering manages the cocoa butter crystals that help it set with a firm texture, a clean release and an attractive finish. A bowl can look beautifully smooth while still being unsuitable for moulding. Checking only the temperature does not tell you everything about its condition.
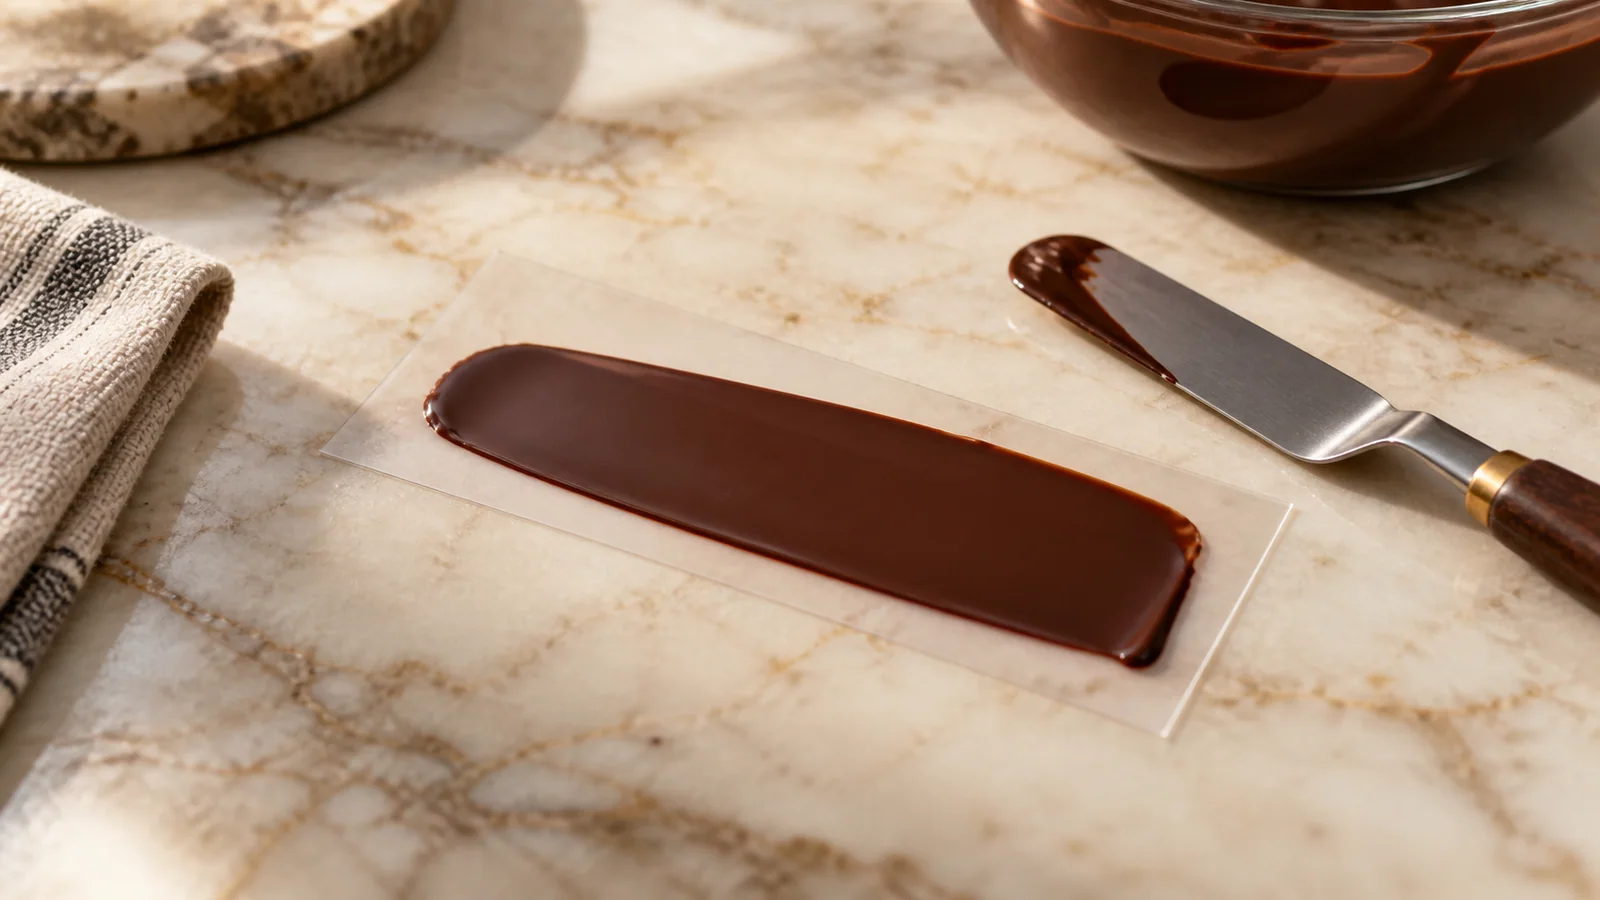
Before filling the next mould, spread a small sample on a clean, dry test surface and observe how it sets under your working conditions. Follow the chocolate’s tempering instructions for the expected result. Look for an even surface and a firm set rather than judging gloss alone. If the sample stays tacky or streaky, correct the tempering process before committing another full mould.
Inspect the surface that creates the finish
A mould transfers its surface detail to chocolate, including marks you did not intend. Examine empty cavities under angled light. Look for remaining chocolate, greasy smears, lint, dried droplets and scratches. A highly polished cavity and a deliberately textured cavity will not produce the same finish, even with the same batch of chocolate.
Clean the mould using its care instructions and let it dry completely. Use a suitable soft, lint-free cloth where polishing is appropriate. Abrasive pads can create permanent marks. Do not assume that adding oil will improve release or shine: a mould intended for chocolate should be used as designed. If one damaged cavity keeps marking pieces, exclude it from your next comparison.
Choose chocolate that can reach the details
The chocolate needs enough flow to fill the cavity and coat its detail before it starts setting. A thick mass can leave trapped air, heavy shells and uneven surfaces. Check the product’s intended applications and fluidity information. Cocoa percentage alone does not describe how a chocolate will behave in a mould.
Also distinguish a naturally thick product from chocolate that thickened while you worked. An increasing crystal population can change handling even when the thermometer barely moves. Do not keep raising the temperature until everything pours: that can undo your tempering work. Use the correction described for your chocolate and method, then repeat the small set test. Changing ingredients and temperature together makes the result harder to interpret.
Make cooling and handling part of the process
Place filled moulds on a level surface in the cooling conditions required by your method. A warm room, an overcrowded cooling space or uneven airflow can make pieces set inconsistently. Check whether the poorest finish occurs near one edge of the mould or in the thickest cavities. That is more informative than simply leaving every batch longer.
Avoid repeated trips between cold storage and a humid room. Moisture condensing on chocolate can damage its surface. Once pieces release, handle them as little as possible with clean, dry tools or suitable gloves. Warm fingers and friction can mark a good finish in seconds. Plan the tray and packaging before demoulding so finished pieces do not need unnecessary handling.
Run a controlled next batch
Keep the chocolate, mould and cavity size unchanged for your next trial. Correct the most likely issue first: clean a marked mould, establish a reliable temper test, or improve cooling consistency. Make a small quantity and compare it with your original sample. Write down what changed and whether the defect moved, disappeared or stayed in the same place.
Do not treat a decorative coating as proof that the underlying process is fixed. It may cover an appearance problem while leaving poor release or a soft set unresolved. Plain chocolate with a known handling history may be suitable for remelting and a fresh tempering cycle. Filled bonbons require a separate decision because their centres and storage needs also matter.
Common questions
Will putting dull chocolate in the fridge make it shiny?
Cooling can help chocolate set when it is part of the correct process, but it cannot polish a scratched mould or reliably correct a tempering problem. Uncontrolled chilling can also introduce condensation when the pieces return to a warmer room.
Does shiny chocolate prove that it is properly tempered?
Shine is useful evidence, but consider it alongside an even set, suitable firmness and clean release. A finish can look attractive briefly and still change later. Test the process before making a large batch.
Keep exploring
All pastry guides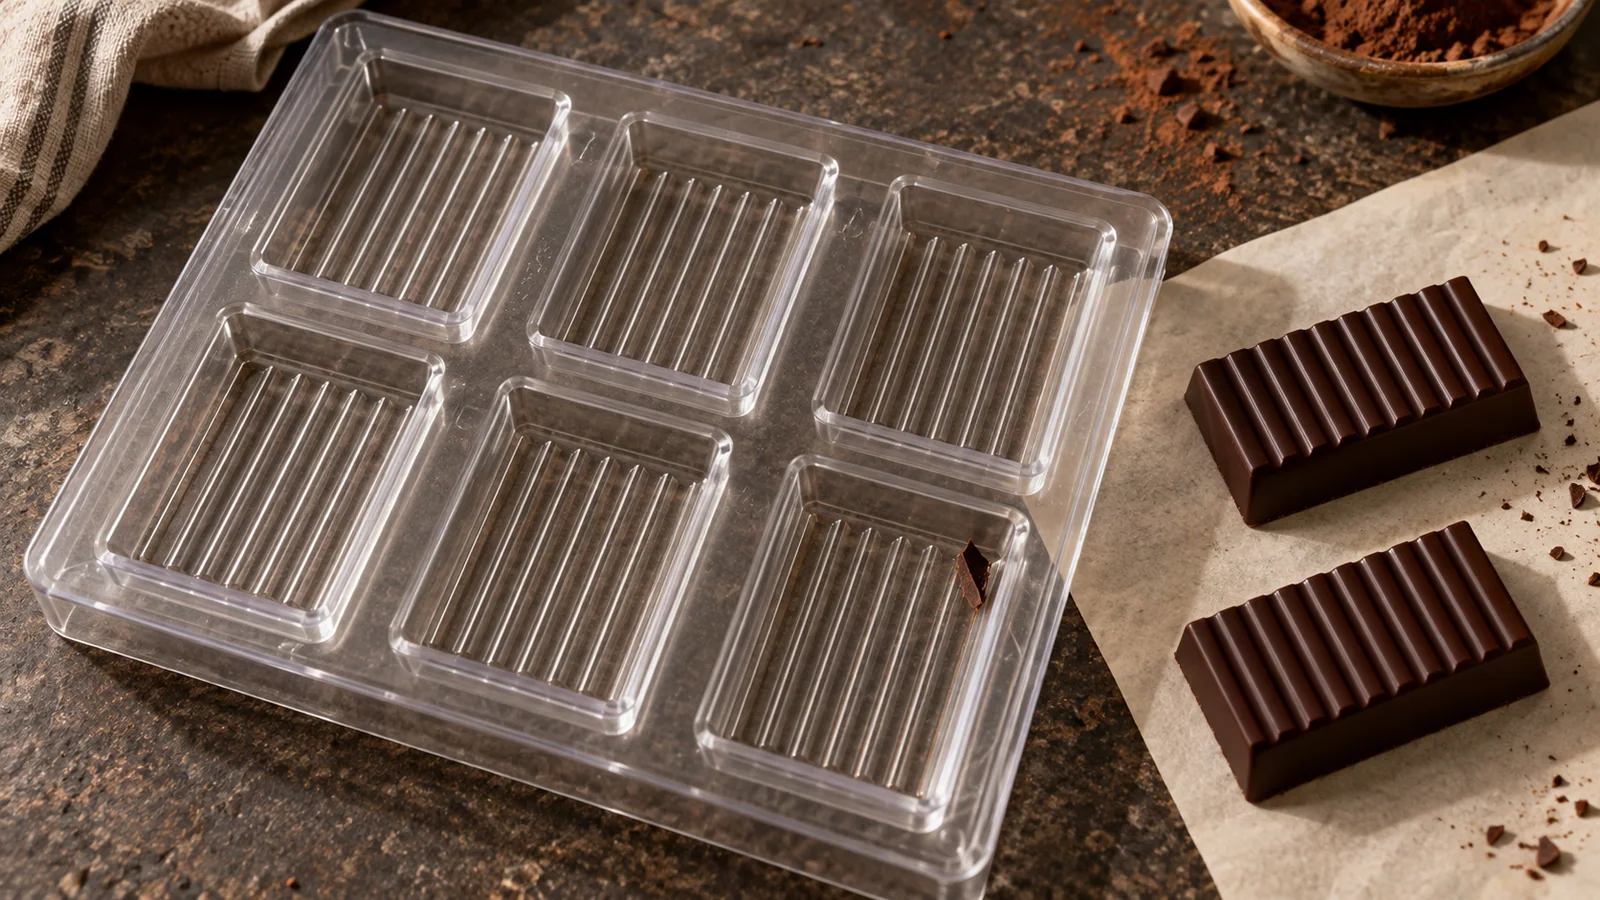
Chocolate Stuck in the Mould: What to Check
Chocolate will not leave the mould? Check whether it has set, whether temper was established and whether the cavity or filling is preventing release.
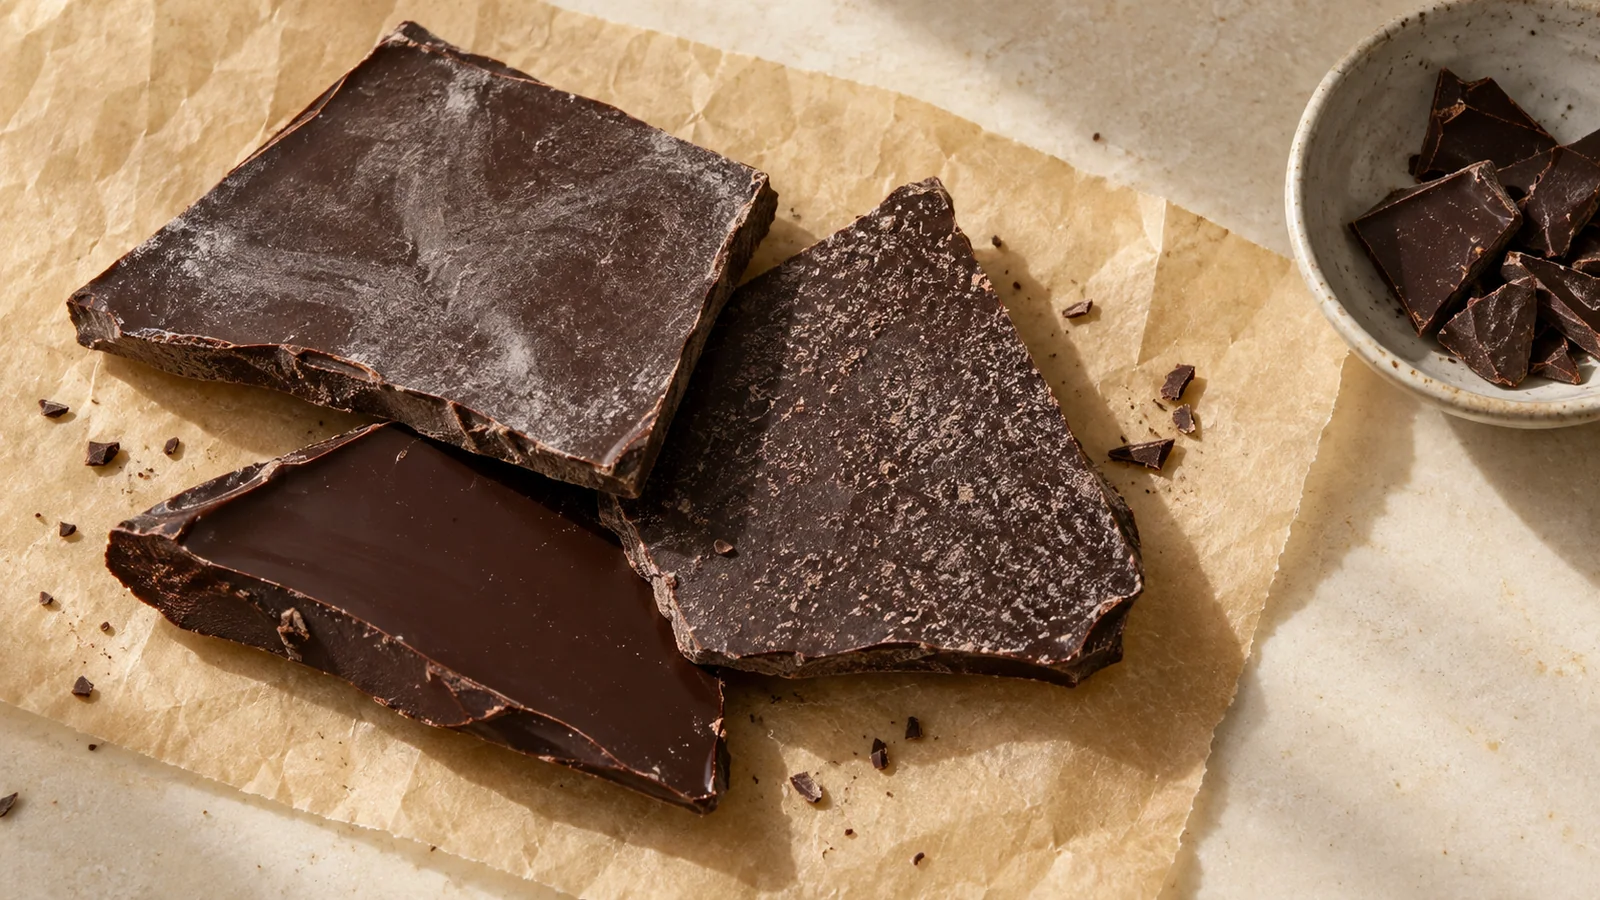
White Film on Chocolate: Fat Bloom or Sugar Bloom?
A white film on chocolate can be fat bloom or sugar bloom. Learn the clues, what storage history can tell you, and when appearance is not enough.
How to Colour Chocolate Without Making It Seize
Choose colour made for chocolate, plan whether you are colouring the mass or the mould, and avoid the moisture mistakes that cause a thick seized paste.
How to Melt White Chocolate Without Scorching It
Melt white chocolate gently in a microwave or over warm water. Learn when to stop heating, how to avoid moisture and why melting is not tempering.