
How to Colour Chocolate Without Making It Seize
Use an edible colour specifically intended for chocolate or cocoa butter, and follow its instructions. Ordinary water-based colouring can make melted chocolate seize. Decide whether you want colour throughout the chocolate or only on its surface: those are different techniques, with different effects on flavour, flow and the finished design.
Explore The Chocolatier’s Path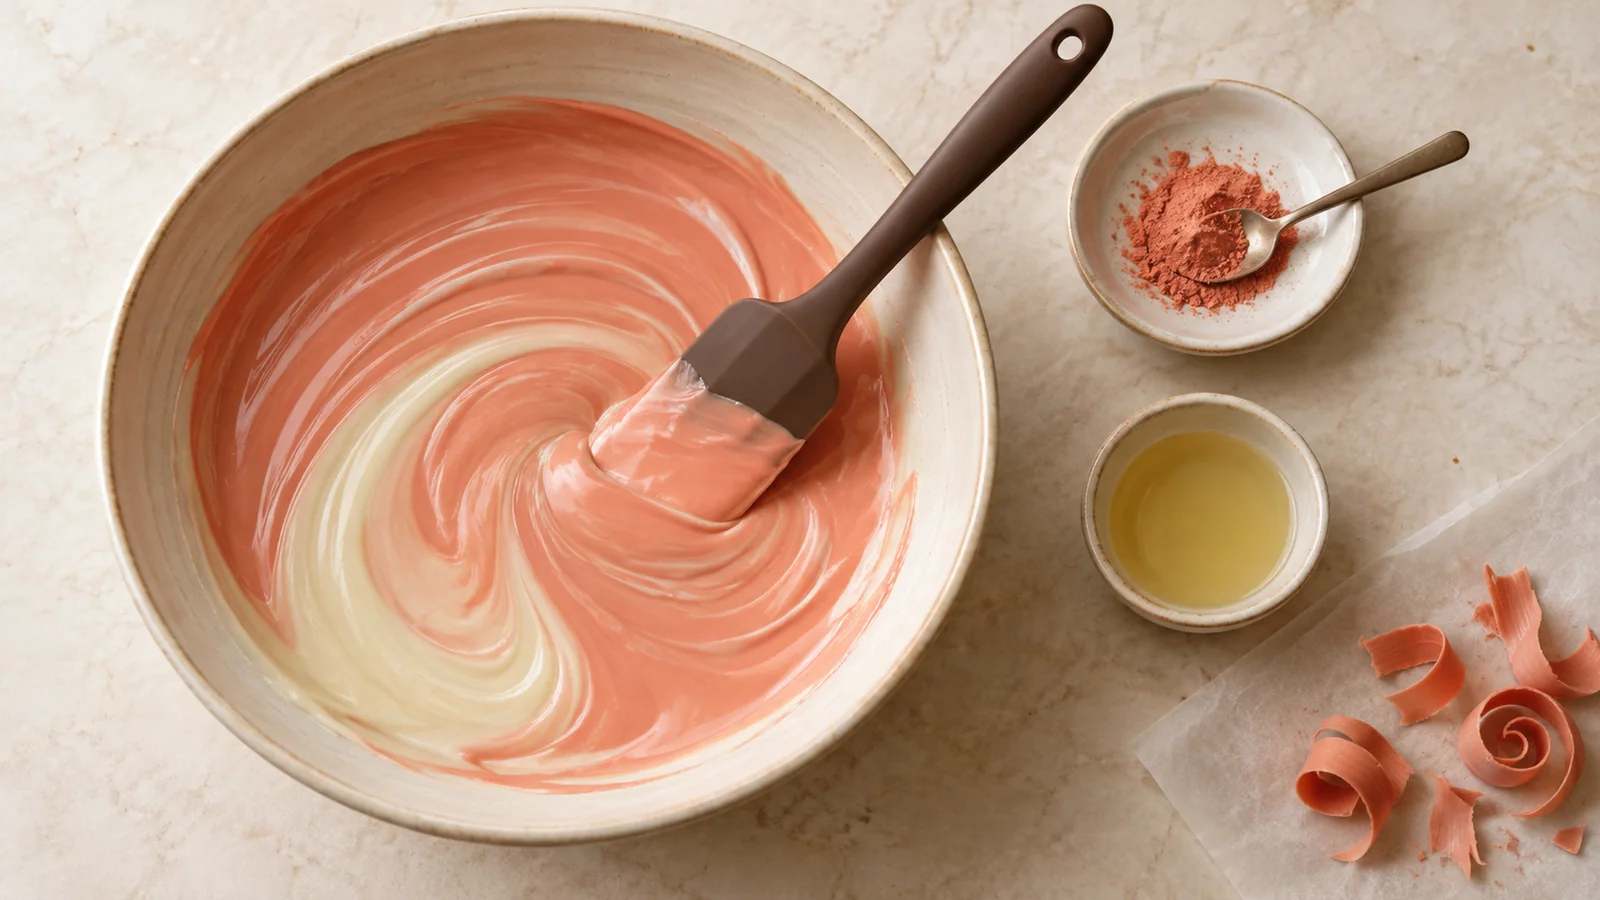
Choose the effect before opening the colour
Colouring the entire mass is useful for a pastel white-chocolate decoration or a coloured bar. Decorating the inside of a mould with coloured cocoa butter creates a surface design while allowing a different chocolate behind it. Painting a finished piece is another process again. Decide which result you need before selecting a colour or medium.
This choice affects how much coloured material you prepare and how you judge success. A beautiful red cocoa-butter pattern does not require turning a whole bowl of dark chocolate red. Conversely, a surface finish will not give a broken piece a coloured interior. Sketch the intended appearance and keep the technique simple while learning its handling requirements.
Check compatibility, not just the word gel
The form of a colour does not reliably tell you whether it belongs in chocolate. A gel may be water-based; a powder may be intended for a different application. Look for clear food-use instructions that identify chocolate or cocoa butter as suitable uses. Keep the ingredient label available so you can also account for relevant allergens.
Choose a product labelled edible for the intended application. Decorative craft powders and products described only as non-toxic are not a substitute. Follow the product’s amount and preparation instructions rather than assuming that stronger colour always means adding more. Increasing a colourant can affect the mixture, and some products need preparation before they disperse evenly.
Allow for the colour of the chocolate itself
White chocolate is the most straightforward base for many coloured effects, but it is usually ivory rather than paper white. That underlying warmth changes pale blues, pinks and other delicate shades. Milk and dark chocolate bring a brown base that can mute or overwhelm a colour mixed into them.
Make a small test with the actual chocolate and colour you plan to use. Look at the test after it has set and under the light in which the dessert will be displayed. A colour that looks right in a deep bowl may look different in a thin shell. Keep the sample beside your notes instead of relying on a photograph or your memory.
Prepare a smooth white-chocolate base with gentle, controlled melting.
Disperse colour while controlling the chocolate
Prepare the colour as its instructions direct and introduce it gradually enough to judge the shade. Use clean, dry equipment. If you are preparing a chocolate piece that needs tempering, include the colouring step within an appropriate tempering method and monitor the chocolate throughout. Extra mixing time and changes in temperature can alter how the batch handles.
Work with a small portion first when learning a new colour. Check for specks, streaks and unexpected thickening before treating the rest. Do not pour in water to dissolve a powder intended for use in fat. Do not add random oil to thin a mixture that is becoming difficult. A colour problem is easier to investigate while the ingredients and process are still controlled.
Treat coloured cocoa butter as its own process
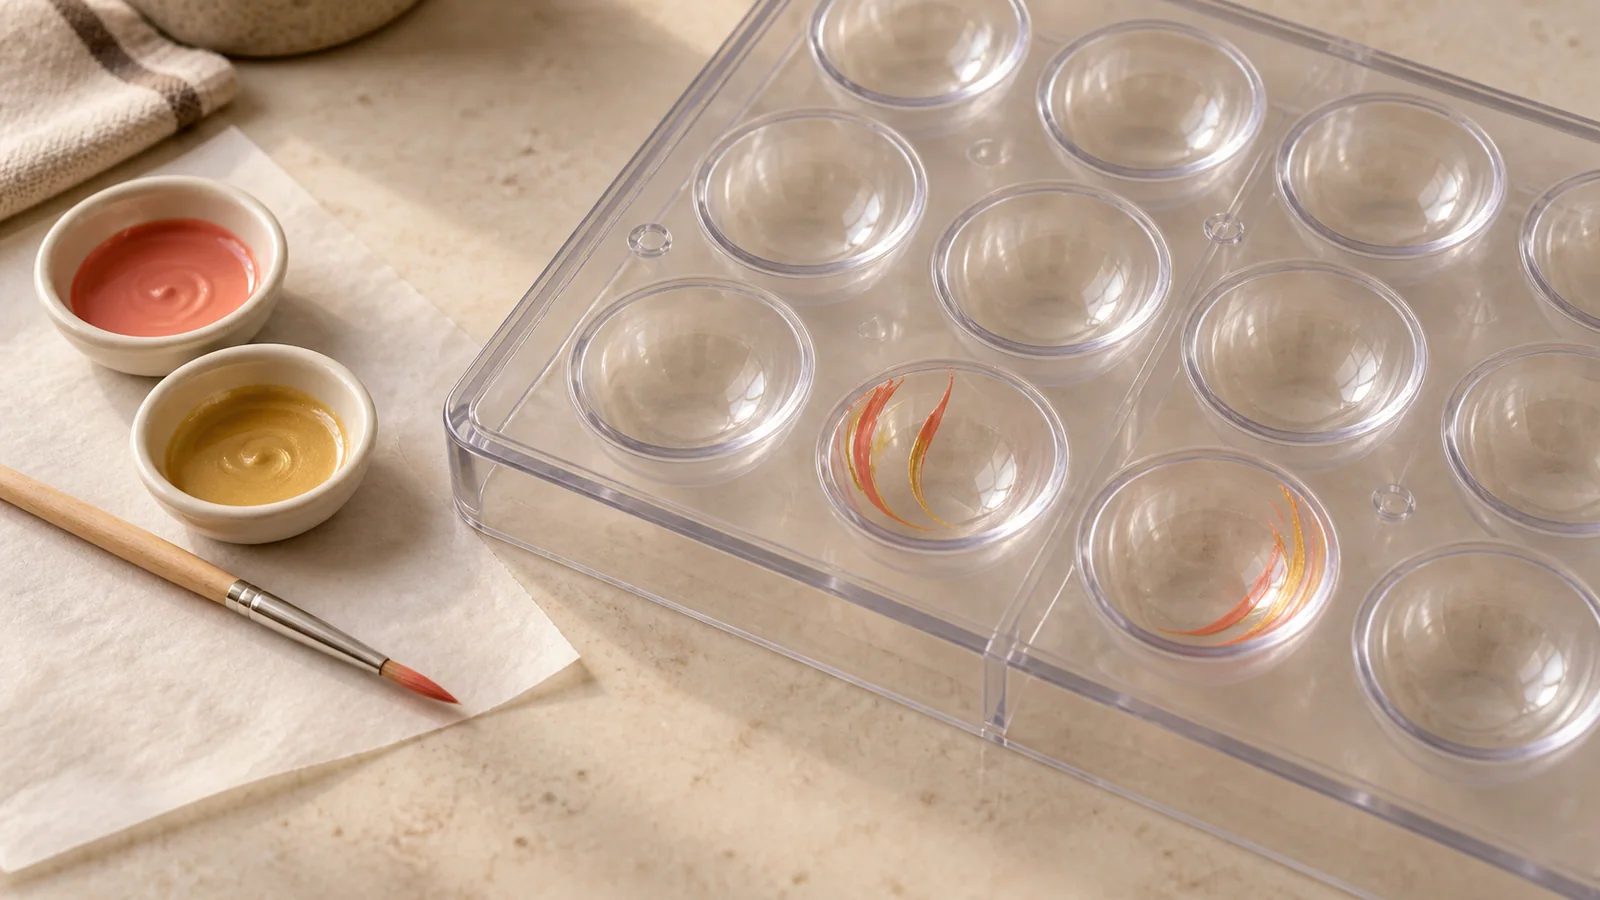
For a mould decoration, the coloured layer and the chocolate behind it need to work together. The mould should be clean and dry, the cocoa butter handled using its crystallisation method, and the design allowed to reach the required stage before you add the shell chocolate. A good-looking wet pattern is not proof that it will release cleanly.
Begin with one simple effect, such as a few brush marks or a controlled splash, rather than several layers with different colours and tools. Test a cavity before decorating the whole mould. If colour stays behind after demoulding, investigate preparation, temperature and crystallisation of both layers. Pulling harder or adding more colour on the next attempt does not isolate the cause.
Check mould preparation and release when a coloured shell remains attached.
Avoid fixes that change the material without a plan
A sudden thick paste after adding colour can mean the product was incompatible with plain melted chocolate. Stop and check the label. Chocolate that has seized is no longer a reliable starting point for the shell or decoration you planned. Adding cream may turn it towards a different recipe, but it does not preserve its original moulding behaviour.
Keep your tests small and record the exact chocolate, colour and sequence used. Avoid assuming that natural colours are automatically stable, tasteless or suitable for every chocolate application. Likewise, a strong synthetic shade is not a guarantee of an even finish. The useful test is whether the actual combination disperses, sets, tastes and releases as required.
Common questions
Can I use ordinary cake gel colour in chocolate?
Only if its instructions specifically support that use. Many cake colours contain water and are intended for mixtures with a water phase. The word gel alone is not evidence that a product is compatible with melted chocolate.
Why did my coloured chocolate lose its shine?
Review the tempering process, mould condition and added ingredients. Colouring takes time and can change handling conditions. Compare a small uncoloured sample with the coloured one to see whether the problem appeared before or after the addition.
Keep exploring
All pastry guides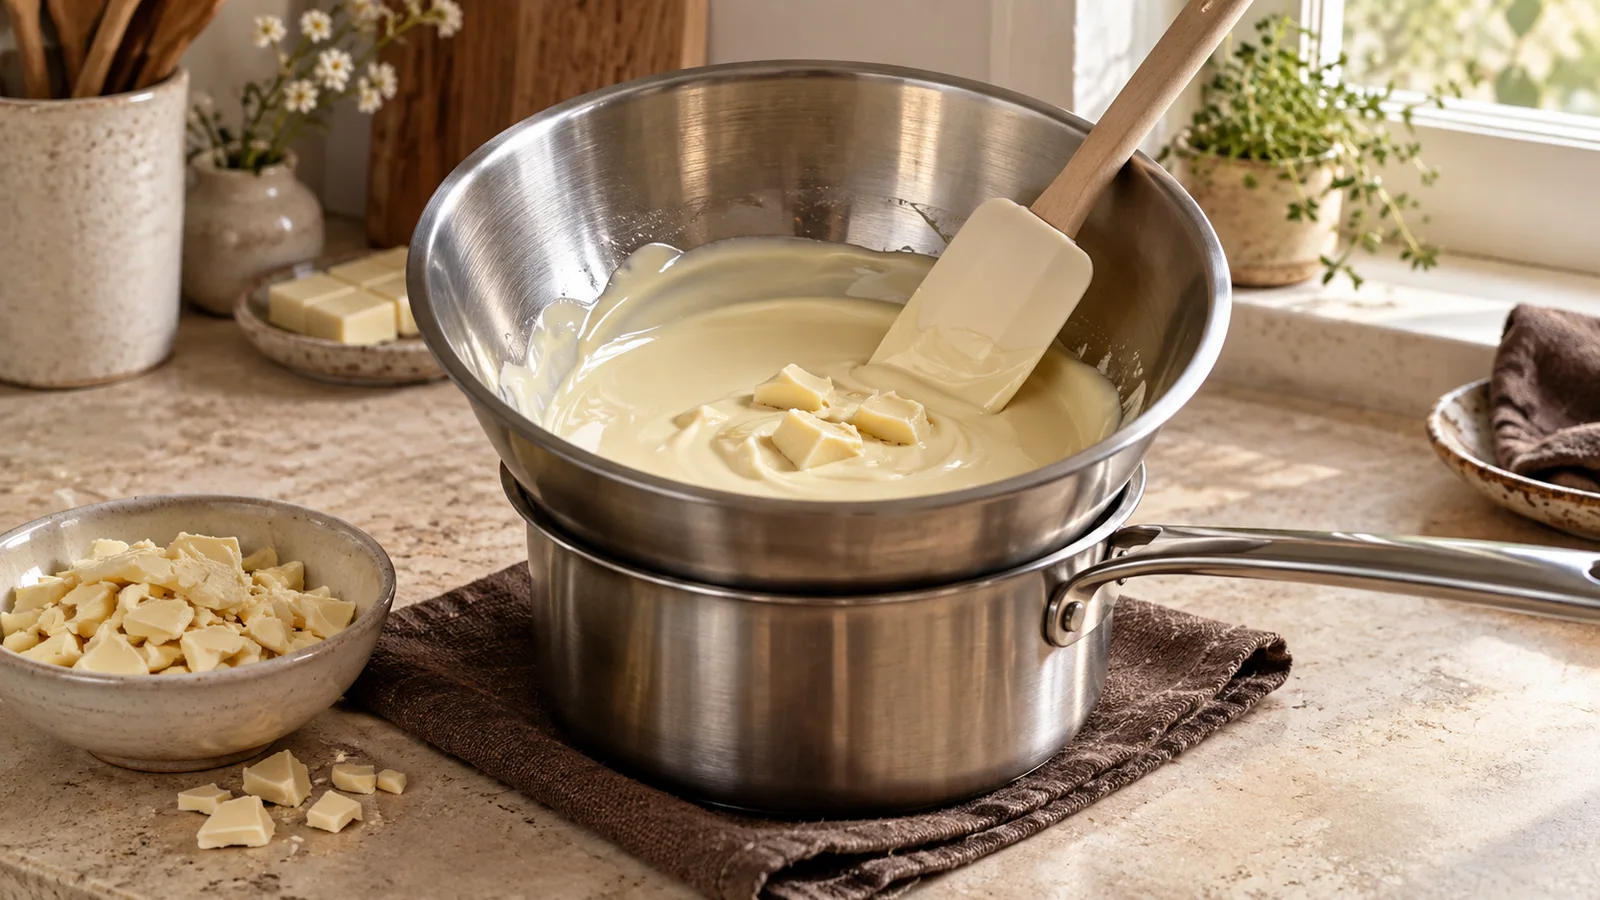
How to Melt White Chocolate Without Scorching It
Melt white chocolate gently in a microwave or over warm water. Learn when to stop heating, how to avoid moisture and why melting is not tempering.
Chocolate Stuck in the Mould: What to Check
Chocolate will not leave the mould? Check whether it has set, whether temper was established and whether the cavity or filling is preventing release.
Why Is My Chocolate Not Shiny?
Dull moulded chocolate? Check temper, mould condition, flow and cooling, then use a small test to find the cause of a disappointing finish.
White Film on Chocolate: Fat Bloom or Sugar Bloom?
A white film on chocolate can be fat bloom or sugar bloom. Learn the clues, what storage history can tell you, and when appearance is not enough.