
Chocolate Stuck in the Mould: What to Check
Do not force chocolate out of a mould while it is soft or firmly attached. Check the set, the tempering process and the cavity condition first. Properly handled chocolate should release using the method intended for that mould; strong bending, scraping or repeated freezing can break the pieces without correcting the cause.
Explore The Chocolatier’s Path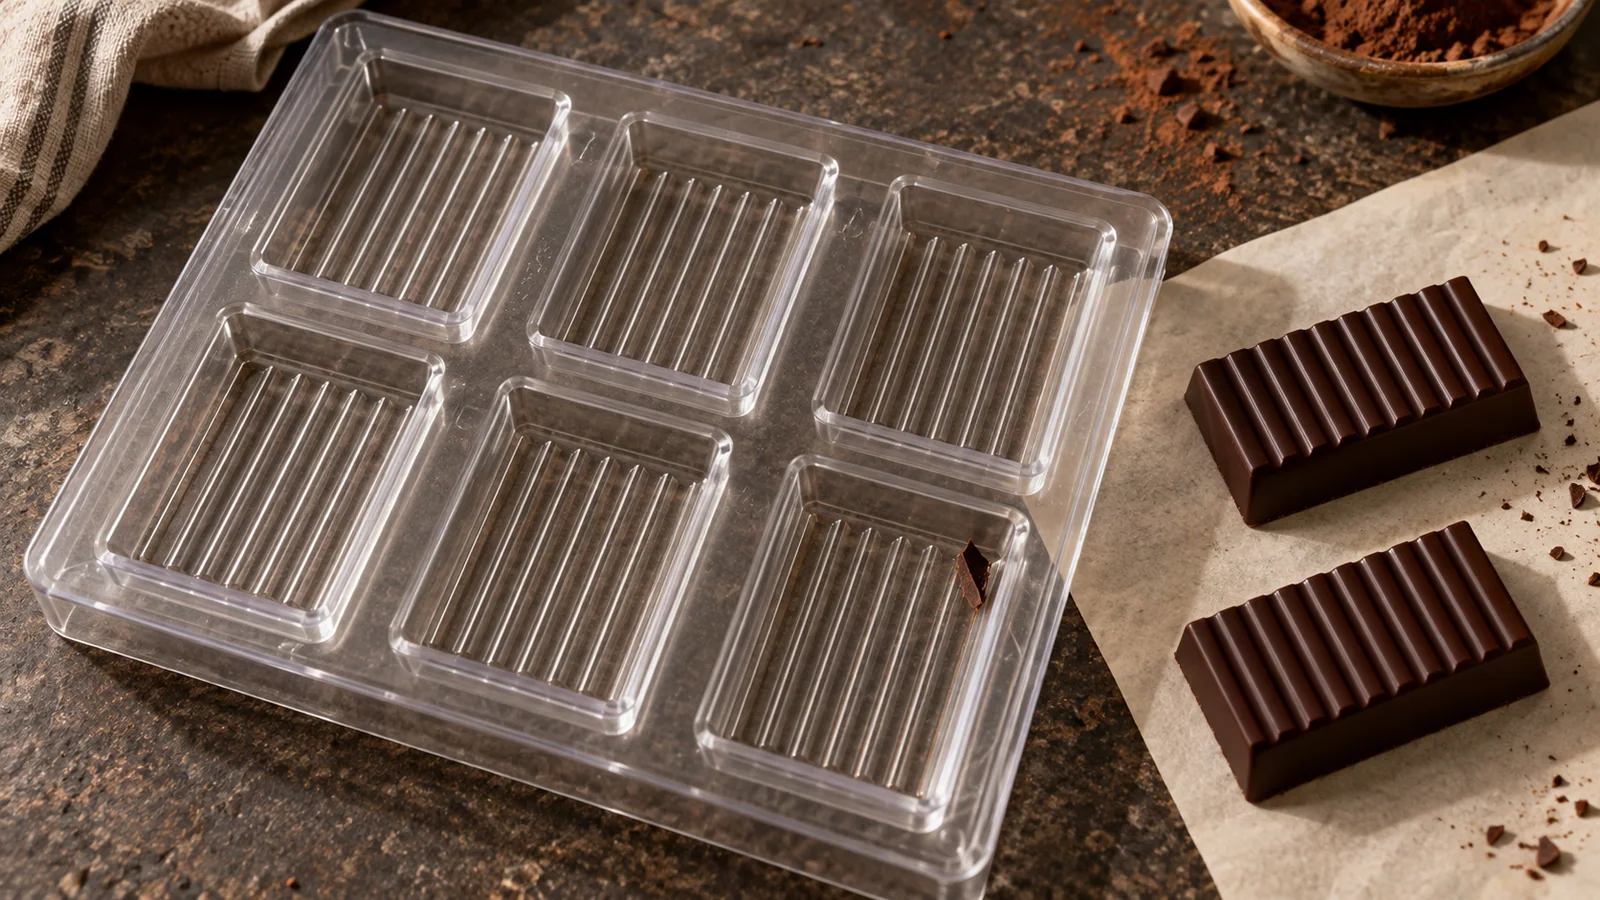
Pause before using more force
Place the mould on a stable surface and inspect it. Is the chocolate still soft, visibly stuck across the entire cavity, or released around most edges but caught at one point? Are all pieces affected, or just one detailed shape? These distinctions help you separate incomplete setting from a damaged cavity or a local obstruction.
Do not insert a knife between the chocolate and the mould. You may scratch the surface, chip the piece or damage a thin shell. Stop twisting a rigid mould if it was not designed to flex. Before trying another release attempt, make sure you are using the release technique intended for that particular mould material and shape.
Check whether the chocolate set correctly
Tempering supports the crystallisation that helps chocolate set firmly and contract away from a suitable mould. Chocolate that was only melted can become solid when chilled yet still lack the behaviour you need for reliable moulding. A cold, hard piece is therefore not the only evidence to consider.
Think back to your test sample before filling. Did it set evenly, or remain tacky or streaked? Did the chocolate thicken substantially while you filled the last cavities? Review the process against the chocolate’s guidance. If the whole mould is affected and the test sample was poor, changing the release technique is unlikely to be the main solution. Establish a reliable temper before the next mould.
Use a small set test to investigate dull or poorly tempered chocolate.
Give the batch suitable cooling conditions
Chocolate needs appropriate cooling after moulding. A warm room, a thick piece or a crowded cooling area can leave it incompletely set even when the surface looks ready. Use the cooling process specified for the product and method. Compare similar pieces rather than assuming that a thin shell and a large solid figure need the same treatment.
Avoid an endless cycle of freezing, warming and trying again. The surface may collect condensation, and fragile pieces can suffer while the underlying cause remains. If the chocolate is simply not ready, allow the proper setting process to finish. If a filled bonbon has been held or reheated outside its intended conditions, assess the complete product before deciding to reuse it.
Inspect the mould and the shape
Once a mould is empty, inspect the cavities with angled light. Remnants from an earlier batch, deep scratches and rough edges can interfere with finish or release. Clean it using the manufacturer’s care method and dry it fully, including narrow grooves. Do not treat oiling as a routine solution unless the mould’s instructions actually require it.
Flexible silicone and rigid chocolate moulds release differently. A flexible mould may peel away from a suitably set piece; a rigid mould relies on its design and the contraction of the chocolate. Detailed projections and very thin areas need more care than a simple tablet. Choose a mould intended for the kind of piece you are making instead of expecting every cavity to behave alike.
Check the extra variables in filled bonbons
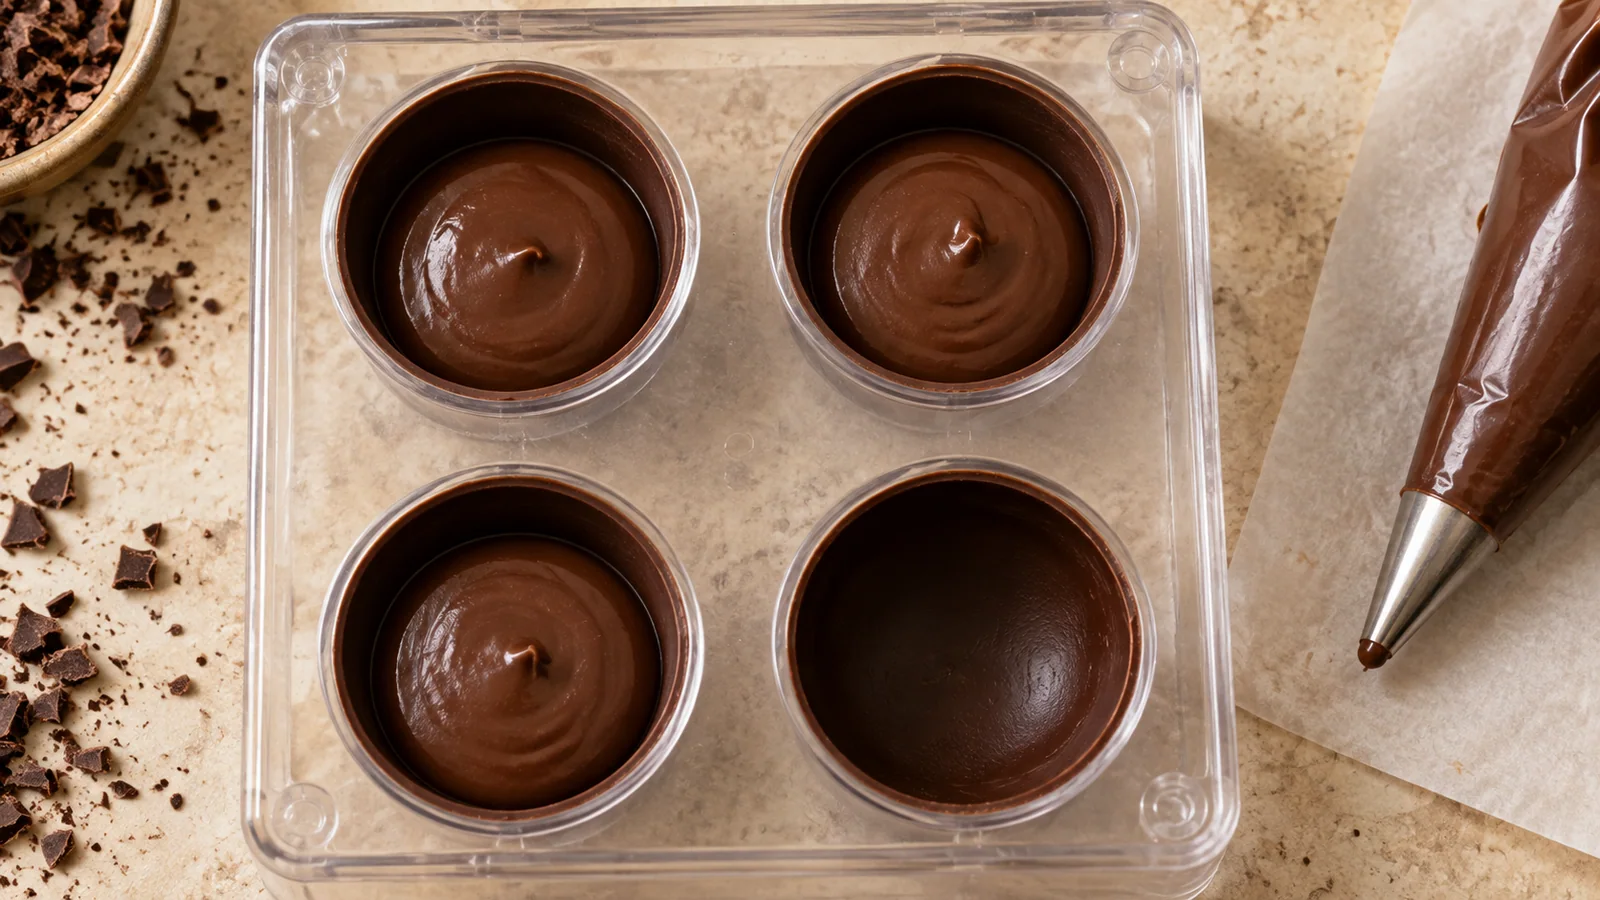
Filled shells bring additional reasons for trouble. Chocolate spread over the top of the mould can connect neighbouring pieces. Overfilled cavities can leave too little space for a clean closure. A shell that is thin in one corner may break even though most of it has released. Look at the break or attachment point before blaming the entire batch.
The filling must also be used at the appropriate stage and temperature for the shell. A filling that damages the shell or prevents a clean closure is not fixed by more vigorous demoulding. Compare one plain test piece with your filled version when practical. That comparison helps reveal whether the difficulty begins with moulding the chocolate or with assembling the bonbon.
Check a ganache filling separately if it has become oily or uneven.
Choose a realistic recovery and a better next test
For a known batch of plain chocolate, remelting and starting a fresh tempering cycle may be more useful than destroying pieces one by one. That option does not automatically apply to filled chocolates, whose centres, handling history and intended use must also be considered. Keep any recovered material clearly separate from unused chocolate until you decide its appropriate use.
For the next trial, use a clean, simple cavity, a verified temper test and consistent cooling. Change one part of the process at a time. Record which cavities released and whether any breakage followed the same edge or detail. Once the small trial behaves reliably, apply that process to the larger batch instead of relying on extra force at the end.
Common questions
Should I grease a chocolate mould?
Follow the mould’s instructions. Moulds designed for chocolate are generally used clean and dry, and adding grease can interfere with the finish. Greasing does not replace correct tempering or suitable cooling.
Can I put a stuck mould in the freezer?
Do not use repeated freezing as a universal release trick. It may change the immediate firmness without solving temper or cavity problems, and condensation can affect the surface afterwards. Use the cooling conditions appropriate to your chocolate and mould.
Keep exploring
All pastry guides
Why Is My Chocolate Not Shiny?
Dull moulded chocolate? Check temper, mould condition, flow and cooling, then use a small test to find the cause of a disappointing finish.
How to Colour Chocolate Without Making It Seize
Choose colour made for chocolate, plan whether you are colouring the mass or the mould, and avoid the moisture mistakes that cause a thick seized paste.
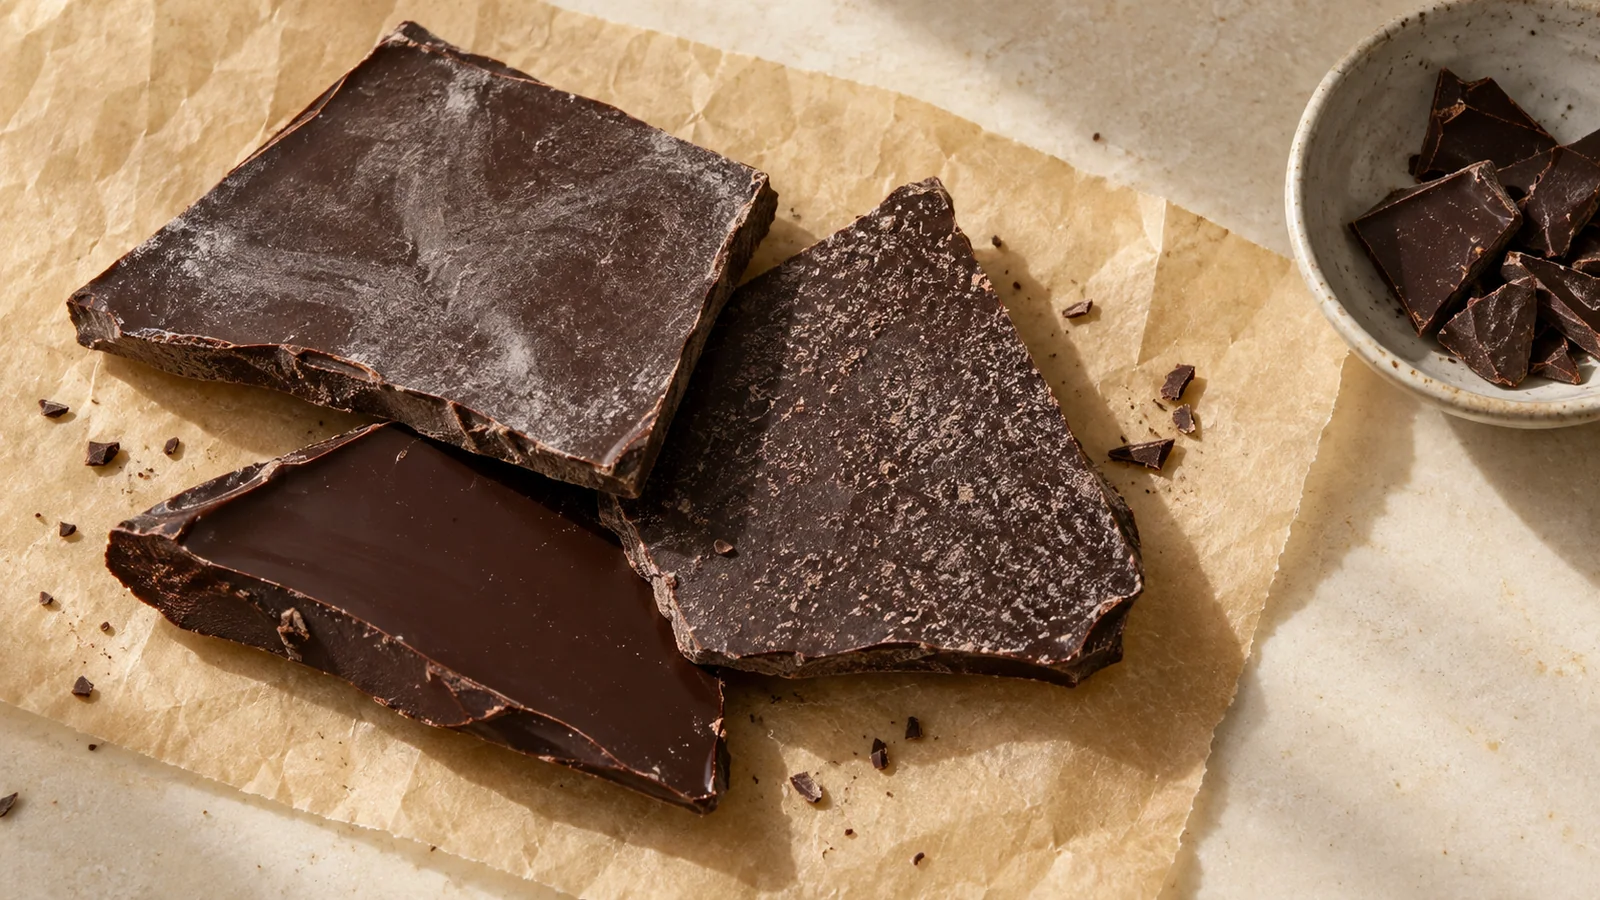
White Film on Chocolate: Fat Bloom or Sugar Bloom?
A white film on chocolate can be fat bloom or sugar bloom. Learn the clues, what storage history can tell you, and when appearance is not enough.
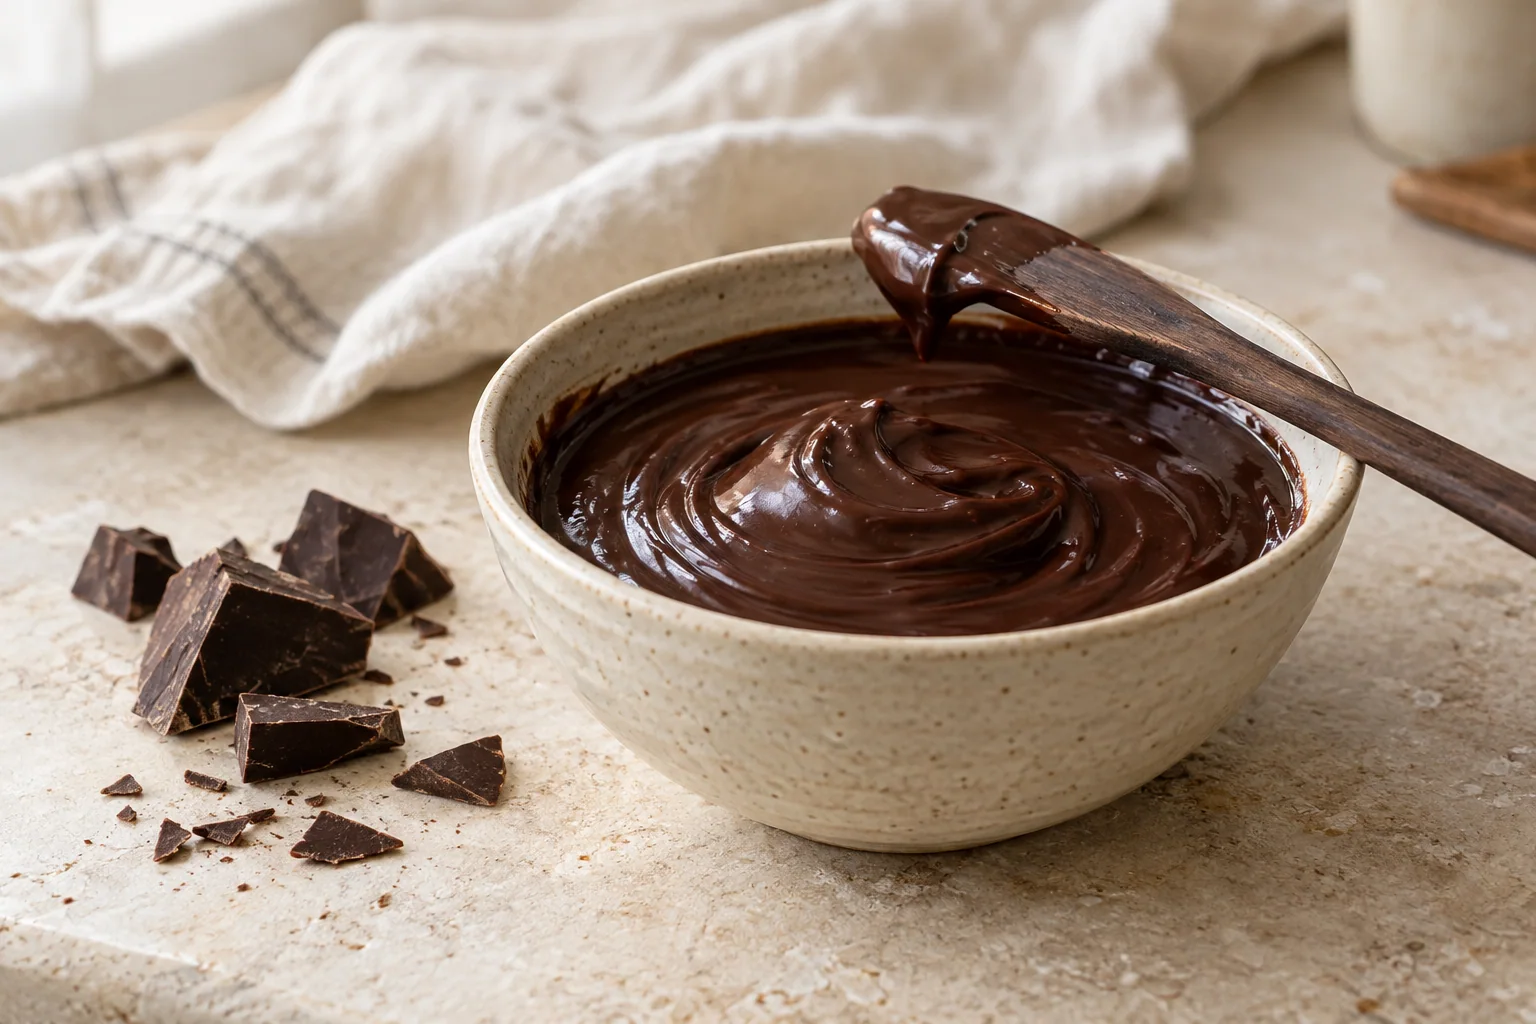
Why Did My Ganache Split?
Recognise a broken emulsion, check your batch and get a personal next-step plan.