
How to Melt White Chocolate Without Scorching It
Chop white chocolate evenly, use a dry bowl and apply gentle heat with frequent stirring. Stop heating while a few small pieces remain and let the surrounding chocolate melt them if it can. Do not keep heating simply because white chocolate looks thick: its formulation and intended use also affect its flow.
Explore The Chocolatier’s Path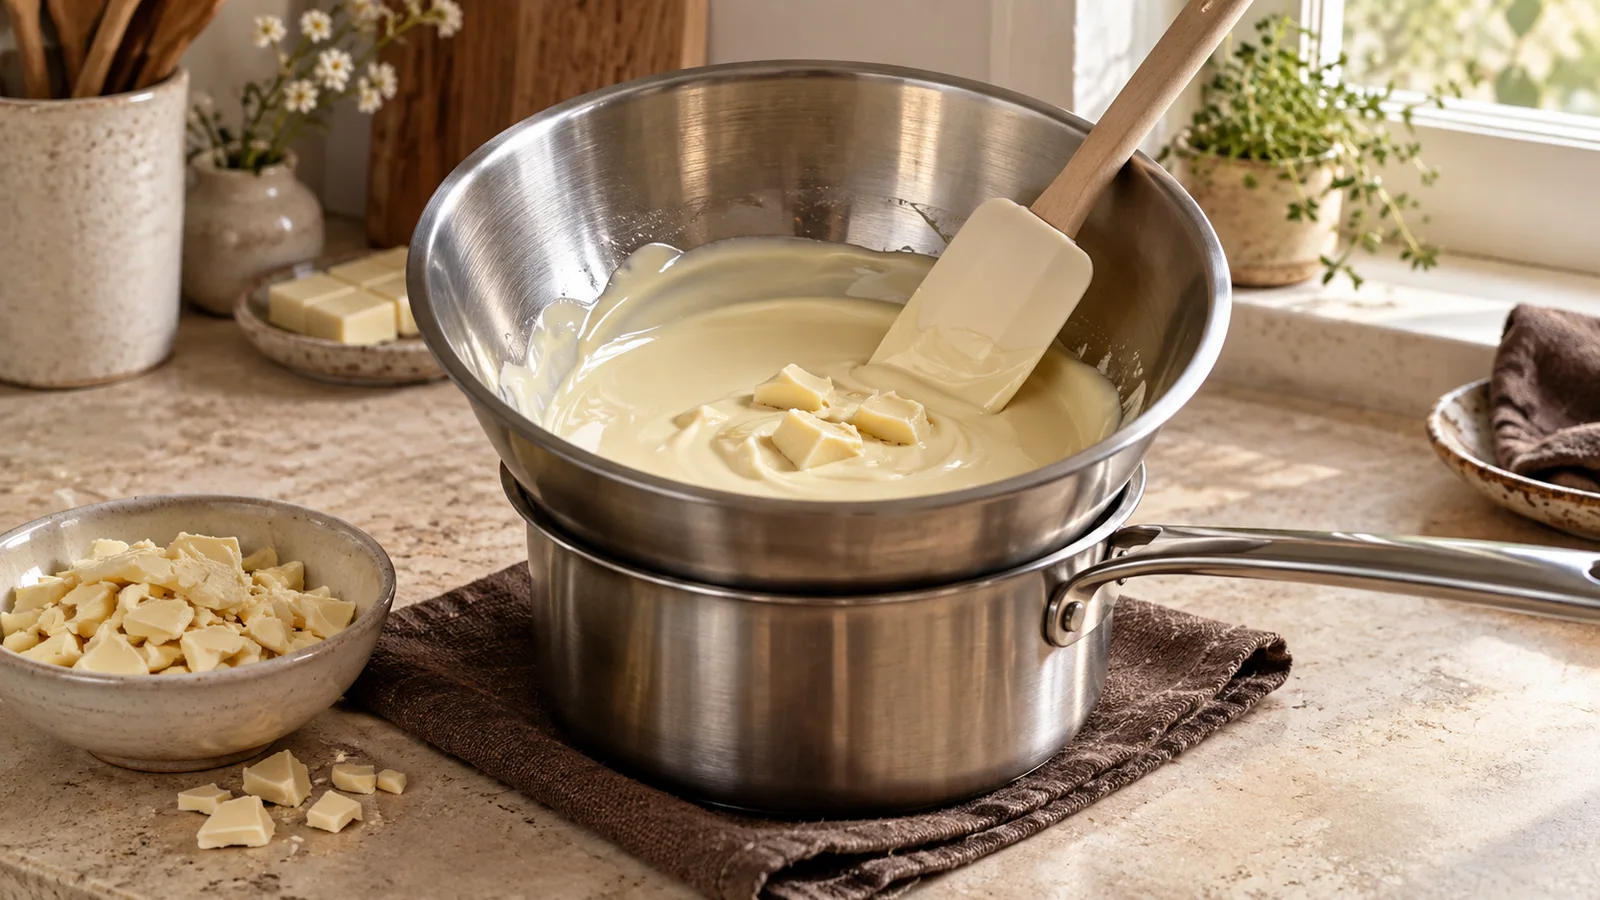
Read the product before choosing the method
White chocolate contains cocoa butter, sugar and milk ingredients, so it needs care during heating. Check that the product is chocolate and read any melting or tempering guidance on its packaging. A confectionery coating may have different working instructions. They can both be useful ingredients, but they should not be treated as the same product.
Decide what the melted chocolate is for. A cake batter, an emulsion such as ganache, a thin decoration and a moulded shell place different demands on it. Melting is enough for some recipes. Pieces expected to set as finished chocolate generally need the appropriate tempering process as well. Make that decision before heating, when you can still organise the correct equipment.
Prepare a dry, evenly sized batch
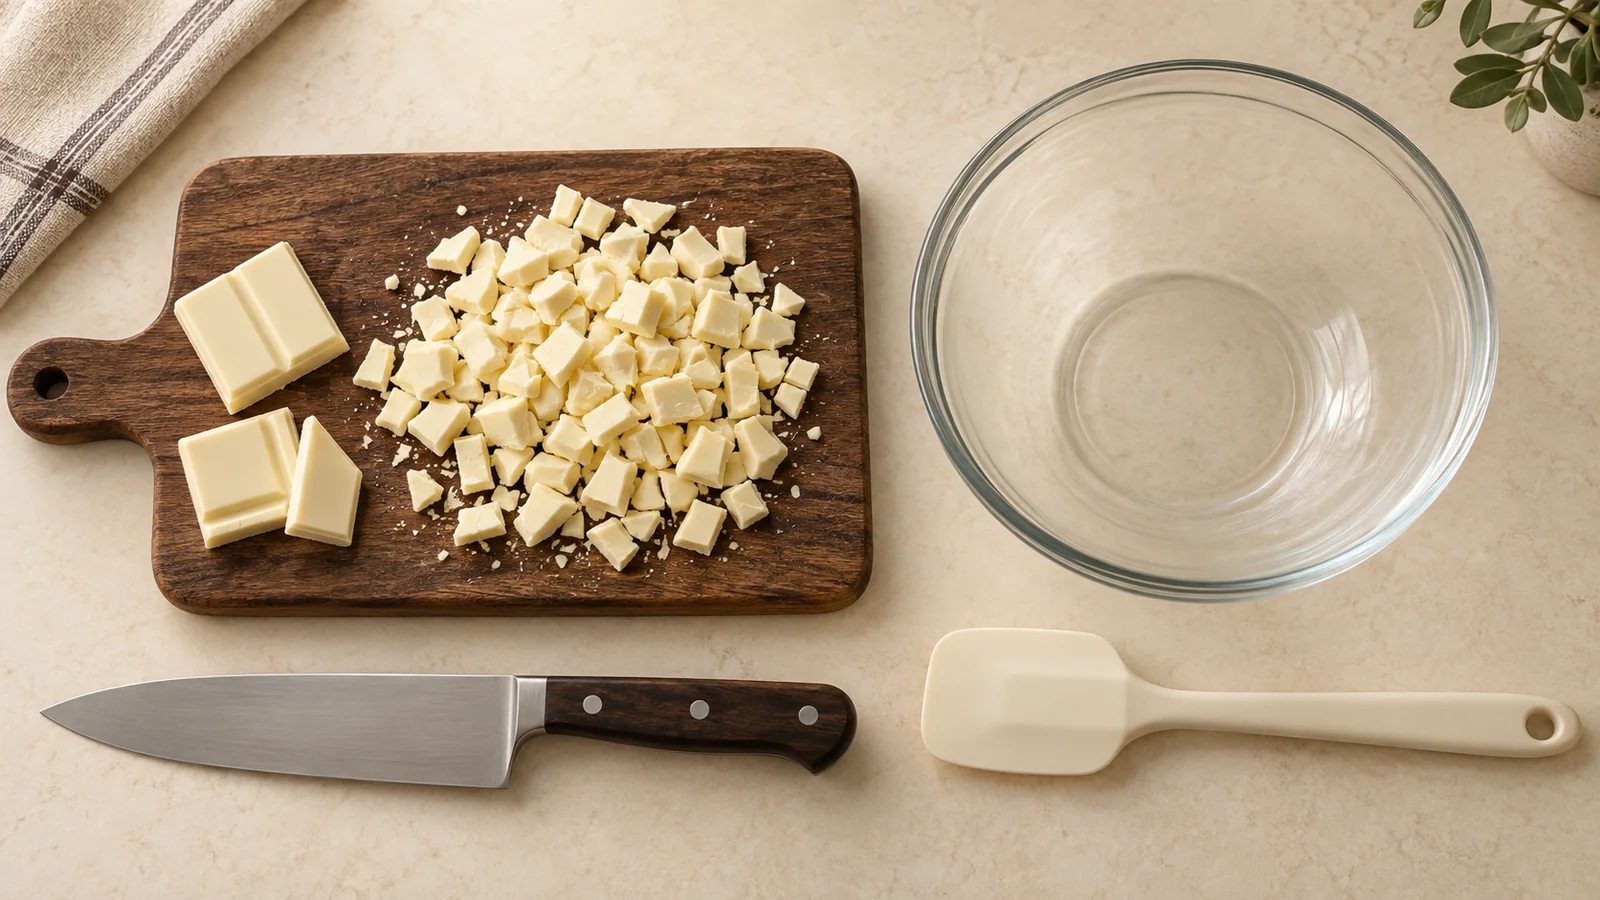
Use a clean bowl and spatula with no residual water. Chop a block into reasonably similar pieces so that a large lump does not remain while fine fragments receive too much heat. Small chocolate buttons can be used as their product instructions direct. Avoid adding an assortment of different chocolates simply to empty several packets.
Keep water, wet utensils and steam away from the bowl. A small accidental addition of water can make melted chocolate seize into a thick paste. This differs from deliberately combining chocolate with the planned liquid in a ganache recipe. Having a recipe that contains cream does not mean that random splashes during melting are harmless.
If chocolate has already been mixed with cream and looks oily, check the ganache guide.
Microwave gently and stir between bursts
Use a microwave-safe bowl that gives you room to stir thoroughly. Heat in short bursts appropriate to your appliance and the amount of chocolate, stirring between each one. Scrape around the sides and across the bottom so that warmer areas blend into cooler ones. As melting progresses, reduce the amount of heat you apply.
The pieces may retain their shape even while they are soft inside. Test them with the spatula before adding more heat. When only a few small pieces remain, continue stirring off the heat and see whether the residual warmth finishes the job. If they persist, use another brief, controlled burst. Do not leave the microwave running while you prepare the next ingredient.
Use a water bath without letting steam enter
Choose a bowl that sits securely over the saucepan without touching the water. Use gentle heat and keep the water from bubbling vigorously. Stir the chocolate as it softens, paying attention to the edges and base of the bowl. The aim is controlled indirect warming, not maximum steam production.
Lift the bowl away before the chocolate becomes excessively hot. Dry its outside before pouring so droplets cannot fall into your mixture. Keep the spatula dry too, and avoid covering the bowl in a way that allows condensation to drip back inside. If your setup is unstable or the bowl fits poorly, change it before continuing; a reliable microwave setup may be easier to control than an improvised water bath.
Know when more heat will make things worse
Smooth but thick chocolate is not automatically unmelted chocolate. Check for actual pieces and compare the flow with the product’s intended use. Continued heating cannot make every white chocolate behave like a very fluid coating. Likewise, colour alone is a poor guide because some white chocolates are naturally cream or ivory in colour.
A sudden pasty texture after contact with moisture points towards seizing. An unpleasant scorched smell or obvious burnt material means you should stop; stirring harder will not remove burnt flavour. Do not add water, cream or oil at random if the chocolate is intended for a shell or decoration. Those additions change the material and can prevent it setting as required.
Choose chocolate-compatible colour before adding it to the melted batch.
Use the melted chocolate for its intended job
Once the chocolate is smooth, follow the next step of your recipe promptly. For ganache, that means a controlled combination with the specified liquid and a suitable emulsification method. For moulding or decoration, it means completing the tempering process required by that chocolate rather than pouring directly from the melting bowl and hoping for a firm finish.
Test a small amount before committing a whole mould or cake. Note whether it flows, sets and releases as needed. Keep the product name and heating method in your recipe notes so the next batch begins from the same point. If you change the white chocolate, expect to reassess the process instead of assuming that every brand or cocoa-butter content behaves identically.
Common questions
Should melted white chocolate be very runny?
Not always. Fluidity depends on the product and the job it was designed to do. If no solid pieces remain, do not use extra heat as your only way to change the texture. Check the recipe and chocolate specification.
Can I use the same melting temperature for every white chocolate?
Use the guidance for your actual product and recipe. Different formulations and processes need different handling. A thermometer helps you follow that guidance, but frequent stirring and observation remain essential.
Keep exploring
All pastry guides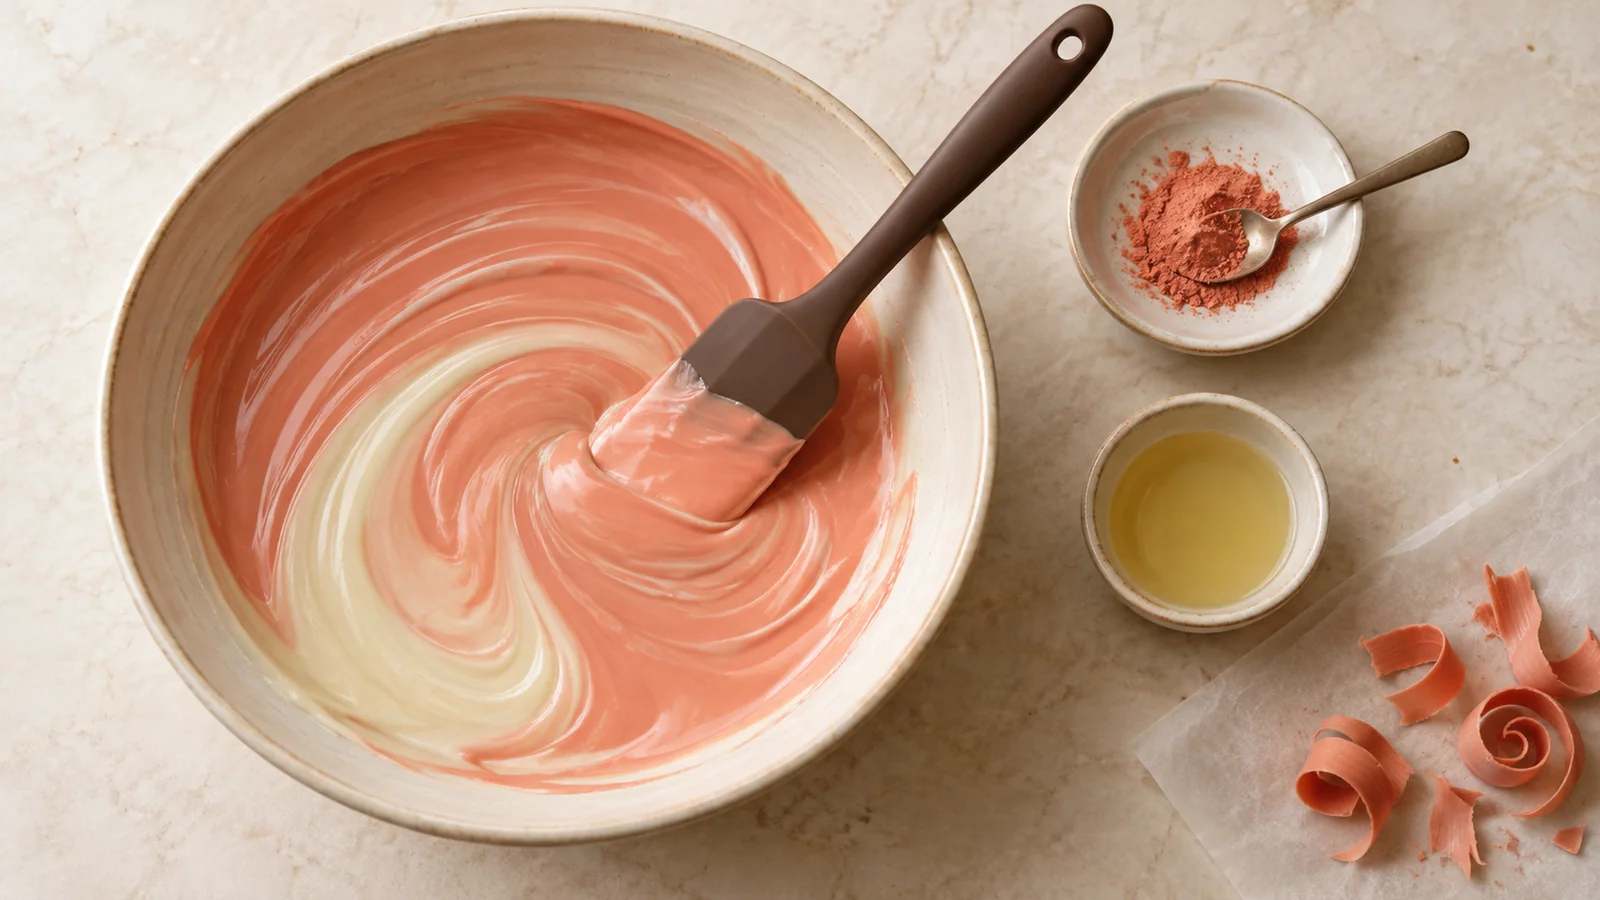
How to Colour Chocolate Without Making It Seize
Choose colour made for chocolate, plan whether you are colouring the mass or the mould, and avoid the moisture mistakes that cause a thick seized paste.
Chocolate Stuck in the Mould: What to Check
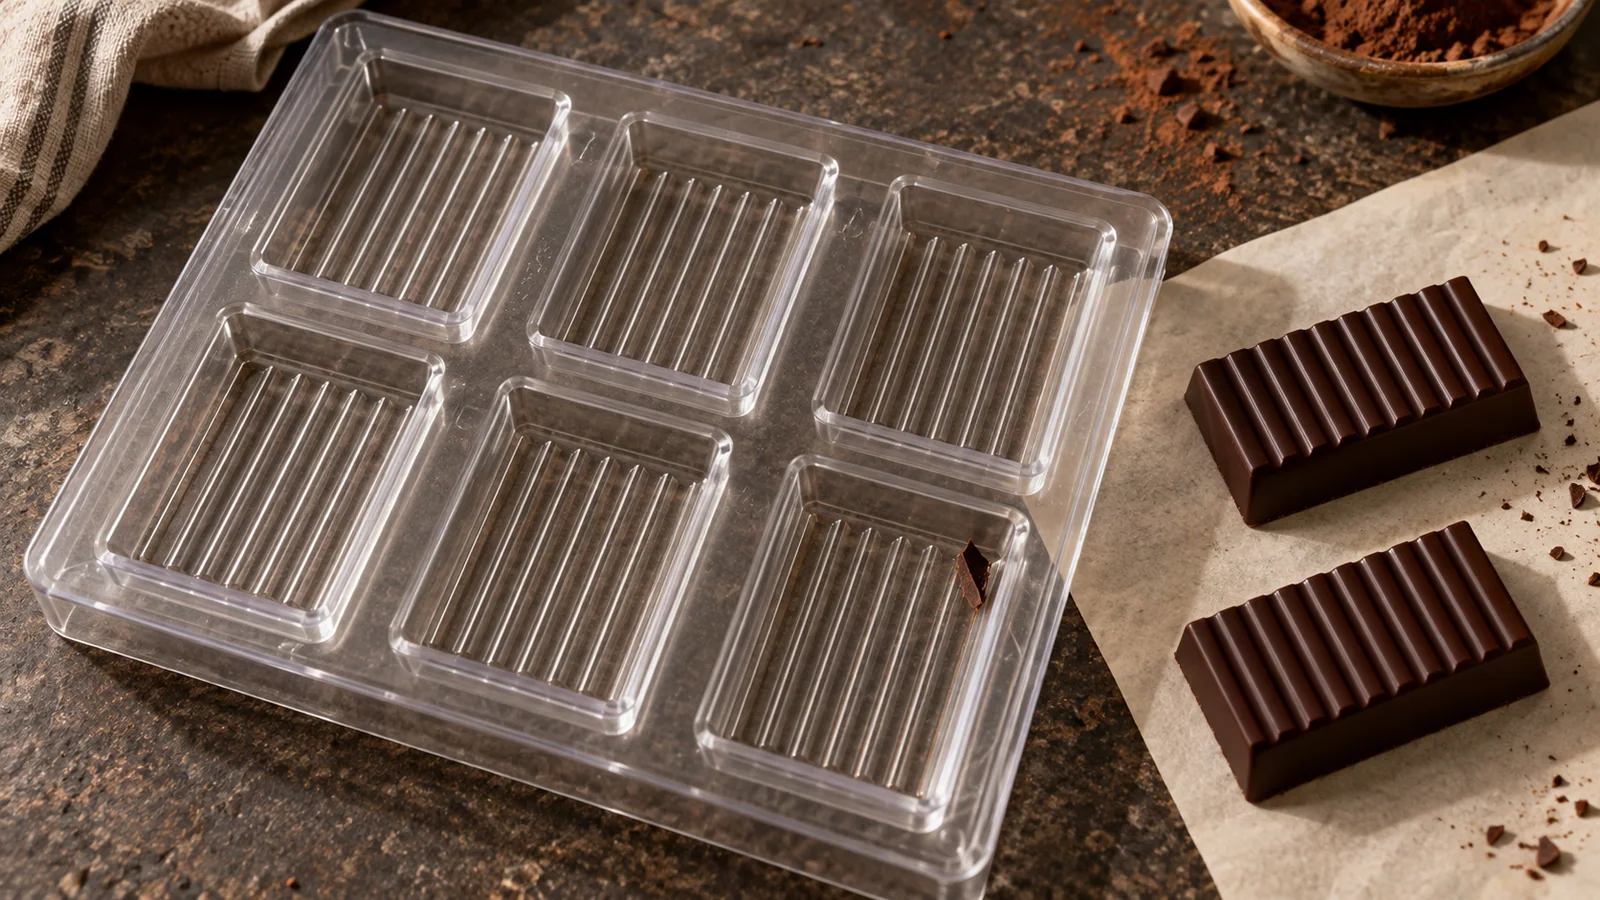
Chocolate will not leave the mould? Check whether it has set, whether temper was established and whether the cavity or filling is preventing release.
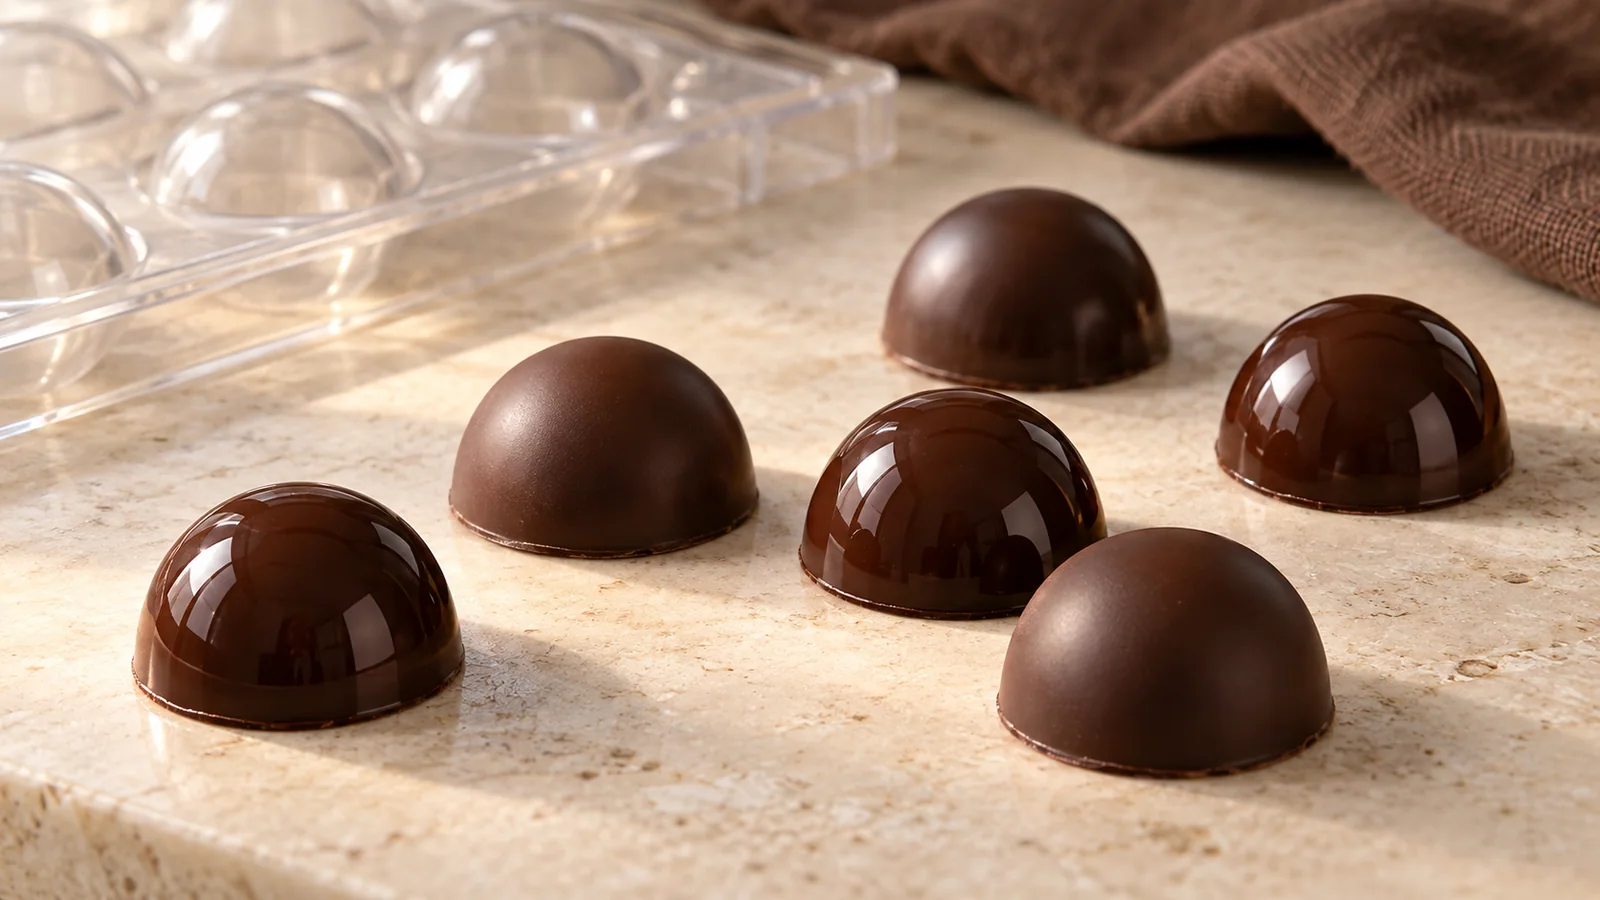
Why Is My Chocolate Not Shiny?
Dull moulded chocolate? Check temper, mould condition, flow and cooling, then use a small test to find the cause of a disappointing finish.
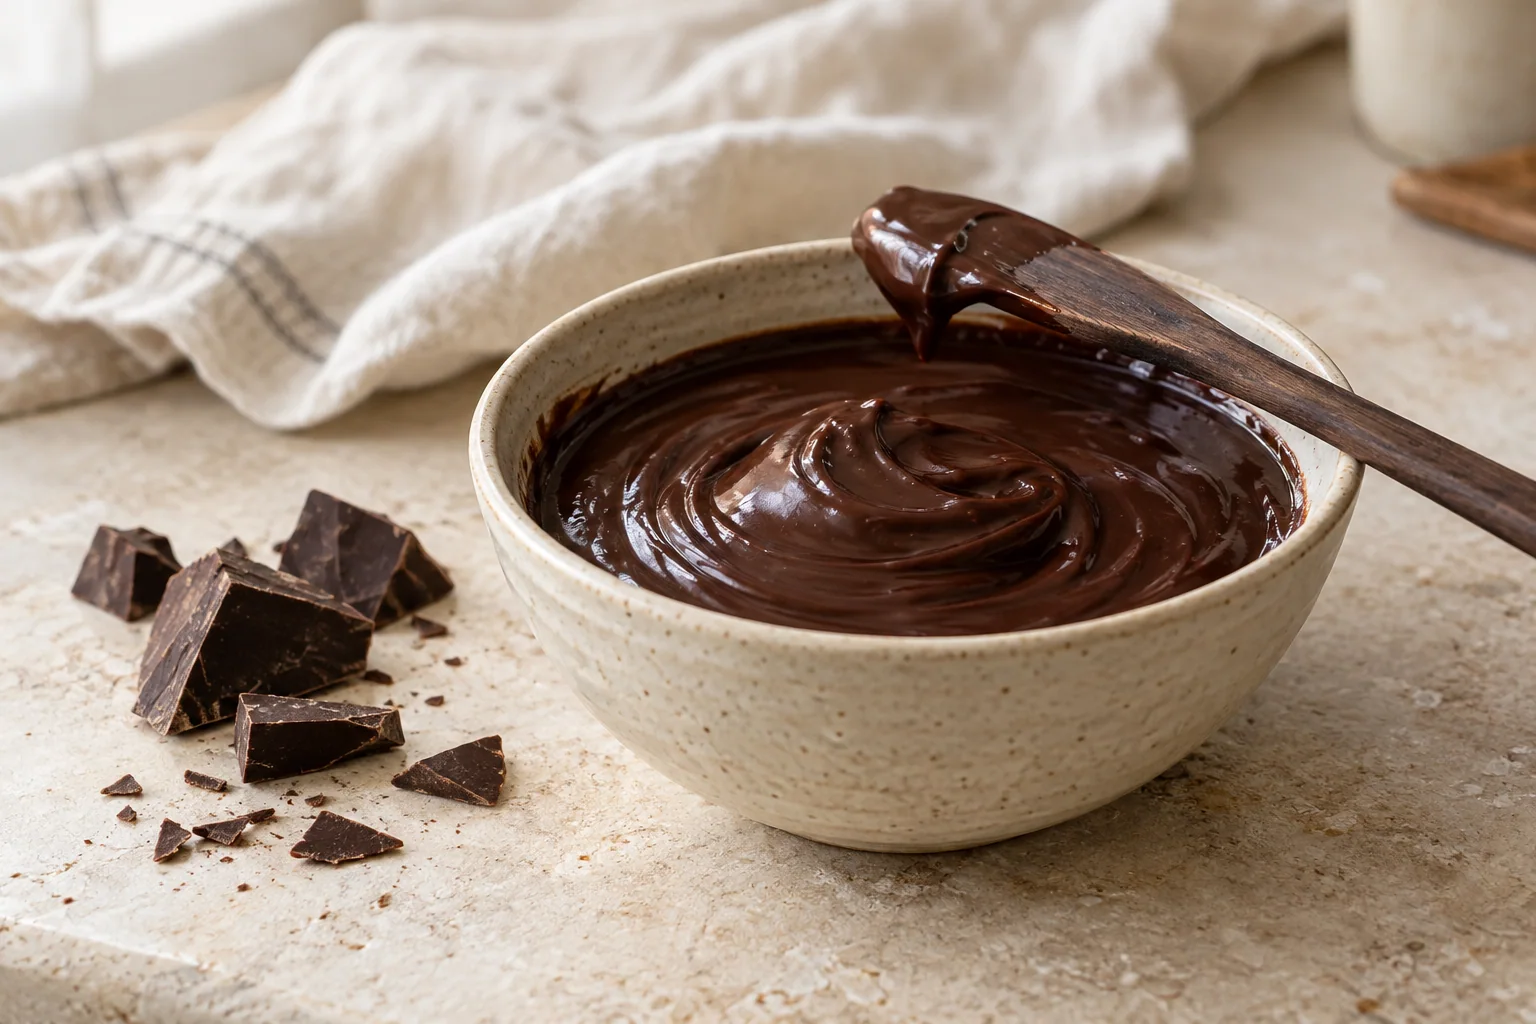
Why Did My Ganache Split?
Recognise a broken emulsion, check your batch and get a personal next-step plan.