
Cakes & pastry
Bento Cake: A Small Vanilla Cake with Berry Filling
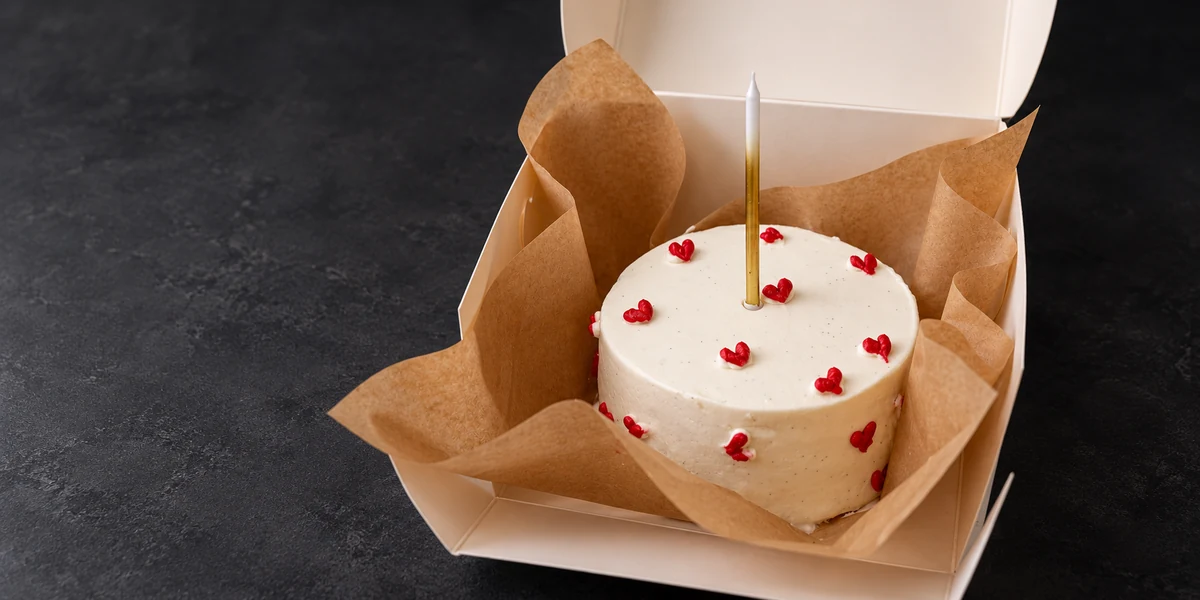
A bento cake is a small decorated cake, usually packed in a lunchbox-style container. This version uses two 10 cm vanilla sponge discs, a blackcurrant filling and cream cheese frosting. Bake the sponge as a sheet, cut out the discs, cool the filling and assemble with a frosting border to keep the berries inside.
6 min read
Start with one small cake and a simple design
A small cake gives you a manageable way to practise filling, smoothing and decorating. This version has two sponge layers with a berry centre, so you can focus on an even assembly rather than a tall stack.
The sponge batch can provide about four 10 cm discs, depending on how the sheet is spread and cut. The filling and frosting quantities below are for one two-layer cake. Reserve the extra sponge rather than assuming the whole recipe automatically fills two cakes.
Choose a box and cake board that leave room around the finished cake. The 10 cm sponge diameter does not include the outer coating or decoration, so measure the finished space you need.
1. Bake a thin vanilla sponge sheet
A sheet lets you cut neat discs without needing a tiny baking pan. Spread it evenly and keep the thickness consistent, because a thin edge can dry before the centre has set.
Vanilla sponge sheet
About four 10 cm discs, depending on sheet dimensions
Ingredients
- 65 g plain flour / all-purpose flour
- 2 eggs
- 20 g neutral vegetable oil
- 50 g sugar
- 15 g vanilla sugar
- 5 g baking powder
Method
- Prepare. Preheat the oven to 170°C (340°F). Line a flat baking tray with baking parchment and weigh the ingredients.
- Whip. Whip the eggs with the sugar and vanilla sugar until pale and voluminous.
- Fold. Sift the flour with the baking powder and fold gently into the egg foam. Add the oil and fold until evenly incorporated, reaching the bottom of the bowl.
- Bake. Spread in a thin, even layer on the tray. Bake for approximately 10–15 minutes, checking for a set, lightly golden sponge and no wet batter on a skewer.
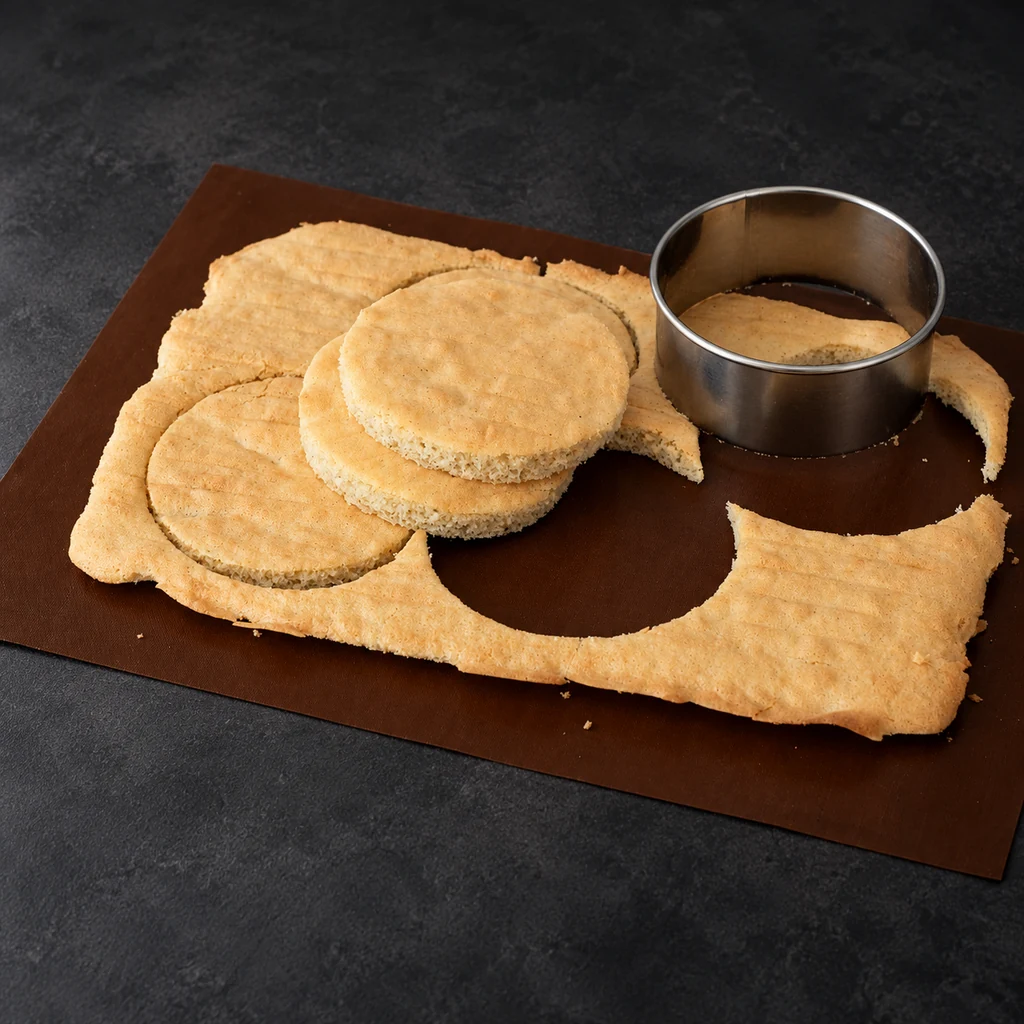
- Cut. Cool on a rack, then use a 10 cm ring or cutter to cut out neat discs. Choose two even discs for the cake and protect the remaining sponge for another use.
Plan the circle layout on your tray before spreading the batter; the sheet area and thickness determine how many discs you can cut.
Do not cut the sponge while hot and fragile.
2. Cook and cool the berry filling
Blackcurrant gives a sharp contrast to the sweet frosting. Frozen berries release liquid as they heat, which helps the starch disperse when everything has been mixed together cold.
The filling should be thick enough to stay inside the frosting border. Let it cool completely before assembly; hot filling can soften the frosting and make the little cake slide.
Blackcurrant filling
One centre filling for a 10 cm cake
Ingredients
- 50 g frozen blackcurrants
- 10 g sugar
- 5 g cornflour / cornstarch
Method
- Mix cold. Combine the frozen berries, sugar and cornflour in a small saucepan.
- Cook. Heat while stirring until the berries release juice and the mixture cooks into a thick, jam-like filling. Make sure no dry starch pockets remain.
- Cool. Transfer to a clean container and let the filling cool fully before using it between the sponge layers.
Other berries vary in acidity and water content. Treat a change of fruit as a variation that may need its own texture check.
Fresh berries may need a little cold water to disperse the starch; the frozen-berry formula above does not include extra water.
Use a dedicated strawberry filling if you prefer a different berry flavour.
3. Make the cream cheese frosting
Use cold full-fat cream cheese and cold whipping cream. Begin slowly so the icing sugar combines without flying out of the bowl, then increase speed and stop once the frosting is thick and uniform.
The mixture needs to form a border and cover the sides. If it is loose, assess the product choice and temperature before repeatedly whipping or adding extra sugar.
Cream cheese frosting
One batch for filling and coating a 10 cm cake
Ingredients
- 180 g full-fat cream cheese, cold
- 60 g icing sugar / powdered sugar
- 60 g whipping cream, about 33% fat, cold
- optional vanilla
Method
- Combine. Put the cream cheese, icing sugar, cream and optional vanilla in a bowl. Mix on low speed until combined.
- Whip. Increase the speed and whip until thick enough to hold its shape. Stop before it becomes grainy.
- Reserve for assembly. Keep the frosting cold. Plan approximately 130 g for the filling layer and border, with the remainder for the outer coating and modest decoration.
The amount available for decoration is limited. A thick outer coat or elaborate piping requires a separately scaled frosting batch.
Compare cream-based and butter-based cream cheese frostings.
4. Add moisture carefully and assemble
If the cooled sponge needs moisture, a simple syrup can be made from 50 ml water and 20 g sugar. Heat to dissolve the sugar and cool before use. Milk syrup uses 50 ml milk with 20–30 g sugar; a fruit version uses 50 ml juice with 20–30 g sugar.
Those are small syrup batches, not instructions to pour every drop onto a 10 cm cake. Brush on only what the sponge needs. The berry filling also contributes moisture.
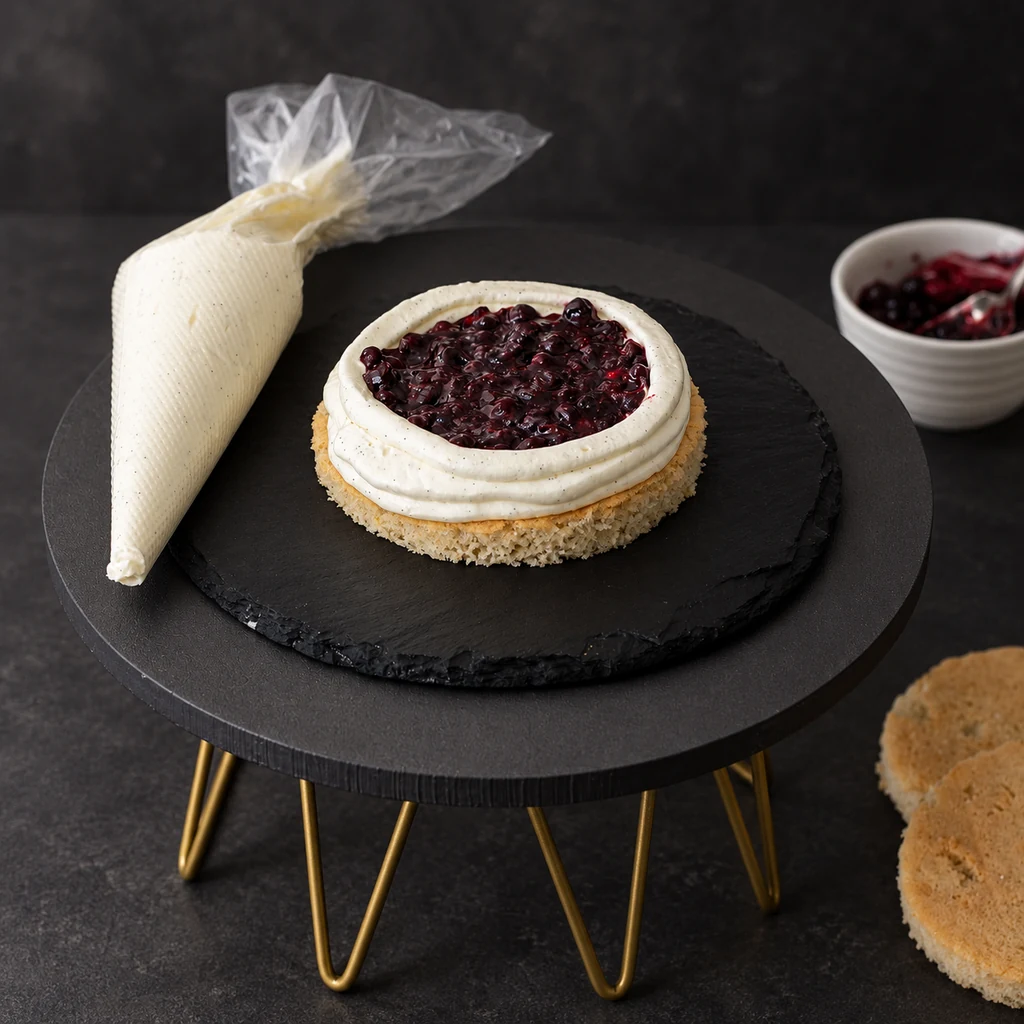
Fix the first disc to the board with a little frosting. Spread a thin layer of frosting over it and pipe a firm border around the edge. Put the cooled berry filling inside the border without overfilling.
Place the second disc on top and check that it is level. Apply a thin coating around the sides to catch loose crumbs. Refrigerate for at least 2–3 hours, or until the assembly is stable enough to finish.
Choose and apply a soaking syrup without saturating the sponge.
5. Smooth the coating and keep the decoration small
Once the cake is firm, apply the remaining frosting as a finishing coat. Use a small spatula or straight knife and remove excess frosting from the tool between passes. A cake assembled level is easier to smooth than one with uneven discs.
A short piped message, a few berries or a restrained sprinkle finish suits the small surface. Practise lettering on parchment before writing on the cake, and check that the chosen design will fit.
Keep the cake refrigerated until it is ready to serve or transport. Place it on a stable board inside the box, leaving clearance for the coating. A small cake still needs the same care as a larger dairy-filled cake.
Plan a small chocolate message before decorating the finished cake.
Use the extra sponge deliberately
Clean trimmings can become the base of dessert cups or cake pops. They should still have a pleasant texture and be handled with the same care as the rest of the cake.
If you want two identical bento cakes, make a clear plan for both filling and frosting before assembly. The sponge yield and the filling yield are different here; do not divide one cake's filling so thinly that neither cake has the intended structure.
Common questions
How big is this bento cake?
The sponge discs are 10 cm across. The finished cake is slightly wider once coated, so allow clearance in the box.
Does the recipe make one cake or two?
The sponge may give about four discs, enough for two two-layer cakes, but the filling and frosting quantities are for one cake. Reserve extra sponge or scale the other components separately.
Can I replace blackcurrant with strawberry?
You can choose a strawberry filling, but the fruits differ in acidity and water content. Use the separate strawberry filling guide instead of assuming identical results from an untested swap.
Must I use all the soaking syrup?
No. Brush on only enough for the sponge and filling combination. Pouring a whole syrup batch into a small cake can make it soggy.
Can I decorate immediately after filling?
A short chill helps the layers settle and the frosting firm. Allow at least 2–3 hours as a guide, then check the actual stability before the final coating.