
Chocolate
Chocolate Letters for Cakes: Mould, Cut or Pipe
Chocolate letters can be moulded, cut from a thin sheet or piped over a template. Use properly tempered chocolate for a firm finish, keep the tools dry and let the letters set before handling. Match their thickness and size to the cake so delicate strokes do not break under their own weight.
5 min read
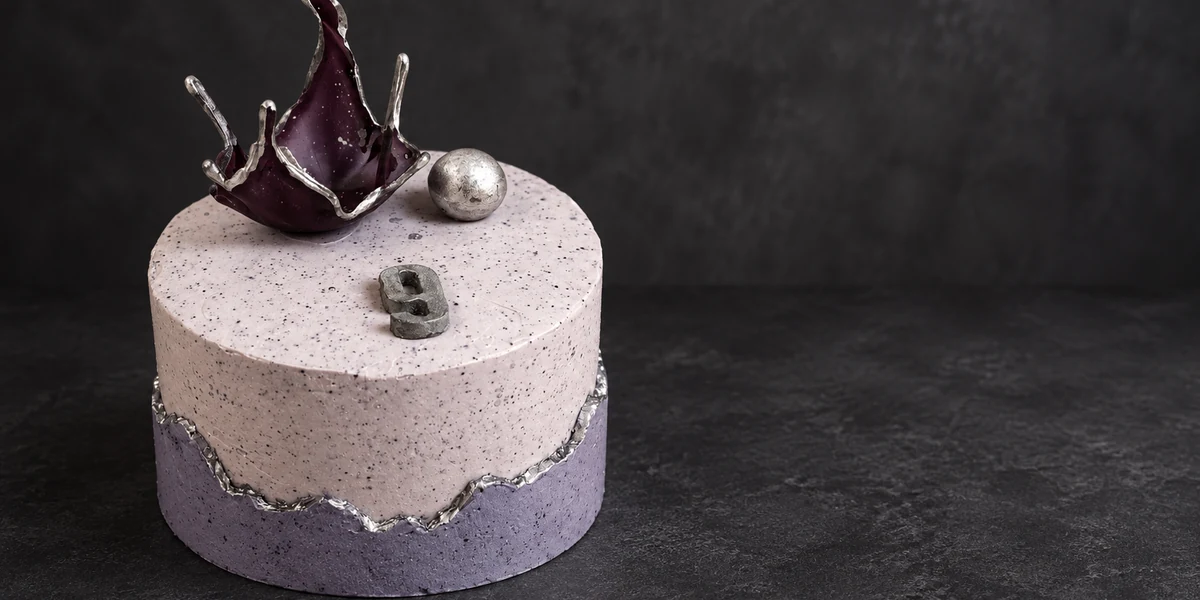
Choose a method before melting chocolate
A mould gives repeatable shapes, a cutter works with a thin sheet, and piping lets you follow a particular message or typeface. The most practical choice depends on the size of the letters and how often you need to make them.
Check the finished message against the cake diameter before starting. A full alphabet mould may produce letters too large for a small cake, while a very fine script can be too fragile to lift.
Prepare the tools and working surface first. Tempered chocolate should be used while it remains in its working range, not left waiting while you search for a template.
Plan the space available on a small cake before choosing the lettering.
Compare silicone, plastic and polycarbonate moulds
Silicone moulds are flexible and available in many designs. Flexibility can help release, but bending a mould sharply around a thin letter can break the chocolate. The surface finish of the mould affects the finished surface.
Rigid plastic moulds need careful handling and can scratch. Polycarbonate moulds are durable and often give a clean, glossy surface when well maintained. No mould material removes the need for suitable chocolate crystallisation.
Clean according to the mould manufacturer's instructions and dry completely. Polish away visible marks with a suitable lint-free cloth. Do not leave water, cleaning residue or fibres inside the cavities.
| Tool | Useful quality | What to watch |
|---|---|---|
| Silicone mould | Flexible release and varied shapes | Thin strokes can snap if bent sharply |
| Rigid plastic mould | Lightweight and accessible | Scratches and forceful release |
| Polycarbonate mould | Consistent shape and smooth surface | Cleanliness and correct temper |
| Letter cutters | Thin flat shapes | Cutting stage and fragile corners |
Use chocolate suited to fine detail
Choose real chocolate with cocoa butter and enough fluidity to fill narrow strokes. A very thick chocolate can trap air or leave gaps. Product fluidity matters more than a blanket rule about where it was purchased.
Melt gently and follow the temperature curve for the exact chocolate. Dark, milk and white products do not all use the same working range. Keep bowls, tools and moulds dry.
Tempering can be done by seeding, tabling or a suitable pre-crystallised cocoa-butter product. Whatever method you choose, make a small temper test before filling the letters.
Make moulded chocolate letters
Put tempered chocolate in a piping bag with a small opening. Fill each cavity carefully, reaching the narrow parts without trapping obvious air pockets. Tap the mould gently to help bubbles rise.
Level or remove excess chocolate as the mould design requires. Keep the edges clean so adjoining letters are not joined by a thin unwanted sheet.
Let the chocolate set fully in a cool, dry environment, roughly 18–22°C (64–72°F) as a starting working range. Setting depends on thickness and conditions, so a fixed 24 hours is not necessary for every letter.
Release gently only when the chocolate has contracted and is ready. With silicone, peel the mould away rather than bending the letter. With rigid moulds, do not pry at a stuck narrow stroke with a knife.
Cut letters from a chocolate sheet
Spread tempered chocolate evenly on a suitable acetate sheet or clean silicone mat. Make the thickness appropriate to the letter size: very thin strokes are easy to snap, while a thick sheet is harder to cut cleanly.
Wait until the chocolate has begun to set but is still cuttable. Press the cutter cleanly through it and let the shapes finish setting before removing the surrounding chocolate.
Do not wait until a thick sheet is completely brittle and then force a cutter through it. Make a small timing test at the edge first, and keep the tool clean between shapes.
Pipe over a template for a personal message
Place a printed message beneath a transparent food-safe acetate sheet. The print is a guide only; chocolate should not touch printer ink.
Pipe a continuous line with enough thickness to survive lifting. Where a script has a very thin join, reinforce it subtly while the chocolate is still workable. A disconnected dot or accent may be easier to place separately.
Let the lettering set completely before peeling it from the sheet. Practise on a spare section first to find the bag opening and pressure that give an even line.
Handle and attach the letters carefully
Avoid warm fingers on the visible face. Support larger letters from underneath and handle as little as practical. Tempered chocolate can still soften in a warm room.
Test the layout on paper or a spare board, then place the letters on the cake. A small compatible chocolate or frosting attachment may be enough, depending on the finish. Do not use a wet adhesive that can spoil the surface.
If lettering looks dull or streaked, check mould condition, temper and storage rather than covering every mark with extra colour.
Common questions
Do chocolate letters need tempering?
For a firm, stable chocolate decoration, yes. Simply chilling untempered chocolate may help it look set temporarily but does not provide the same result.
Which mould gives the best result?
The right choice depends on size and design. A clean smooth mould and properly tempered chocolate matter more than choosing a material alone.
Why do thin letters break?
They may be too thin, not fully set or forced out of the mould. Increase the strength of narrow strokes and release gently.
Can I cut fully hard chocolate?
A very brittle sheet tends to crack. Cut after it begins setting while it remains cuttable, then let the shapes finish setting.
Can I trace directly on printed paper?
Use a transparent food-safe sheet over the print so chocolate does not touch the ink.