
Mirror Glaze Bubbles and Thickness: A Practical Troubleshooting Guide
Smooth mirror glaze needs a well-combined mixture, controlled air incorporation, suitable flow and a prepared frozen cake. Keep the blender head submerged, judge temperature alongside consistency and have the cake ready before pouring. A thick coating, a transparent runoff and surface bubbles are different symptoms, so correct the relevant stage rather than adding ingredients at random.
Explore Mousse Cakes Made Simple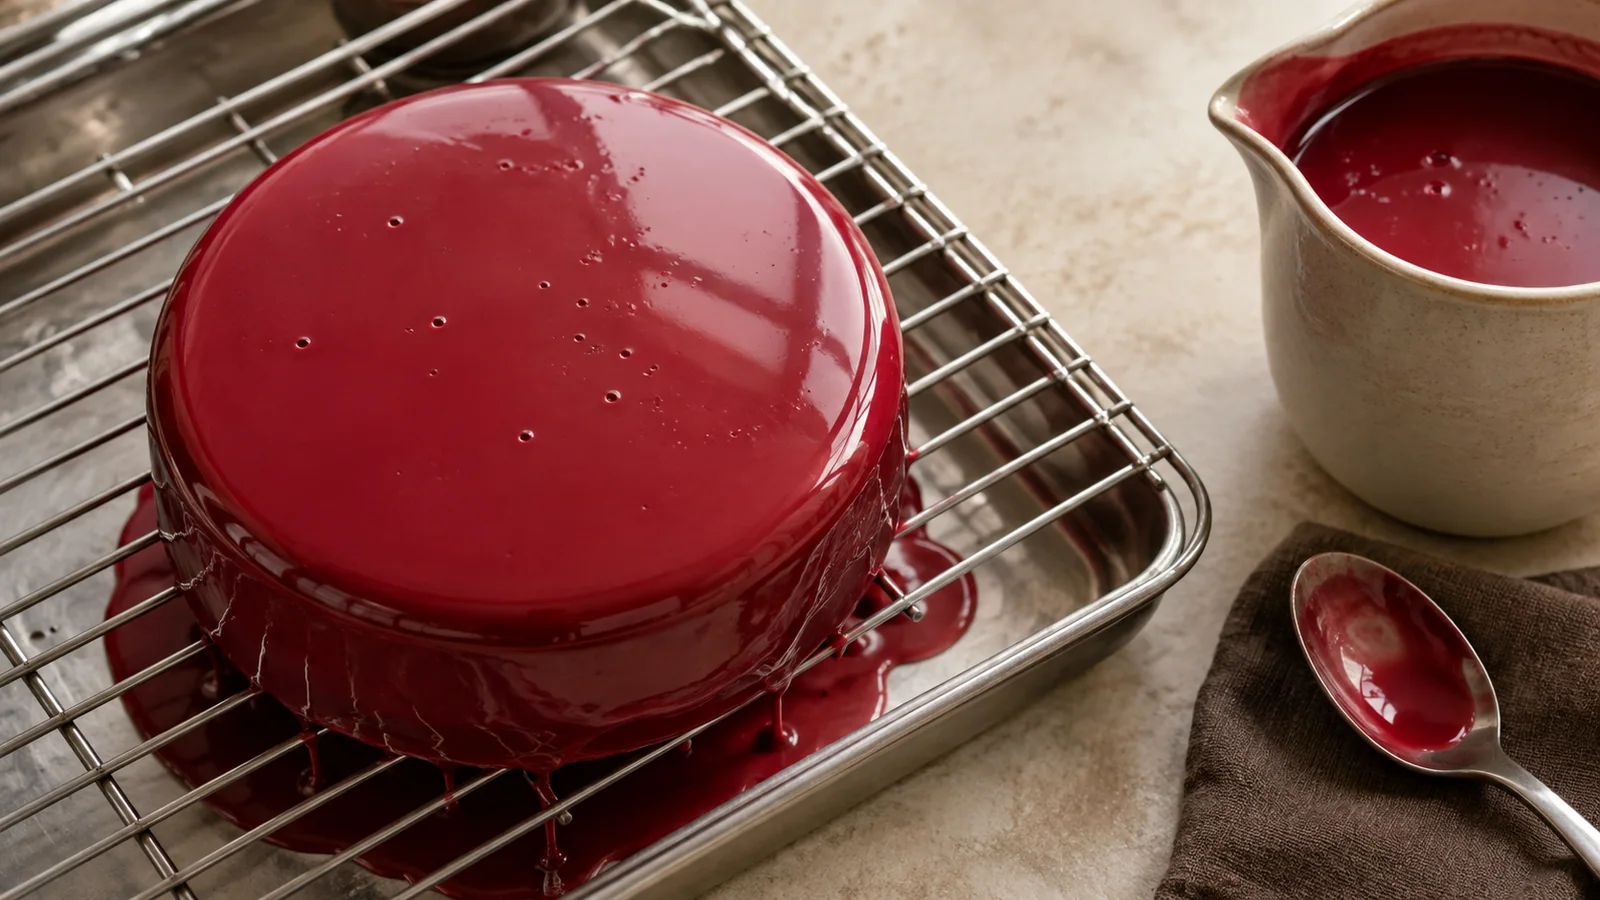
Name the defect before adjusting the glaze
Look at the glaze in the jug before it reaches the cake. Are there visible bubbles, undissolved pieces, a foamy surface or a texture too thick to pour evenly? These issues should be considered before coating. Once the glaze is on a delicate cake, there are fewer opportunities to adjust it without damaging the finish.
If the defect appeared only after pouring, describe what happened. Did the glaze form heavy ridges, run away until the surface showed through, or collect in irregular patches? Also note the cake’s surface condition and how long it spent outside the freezer. A poor coating is not automatically a faulty glaze recipe; the receiving surface is part of the process.
Blend without drawing in unnecessary air
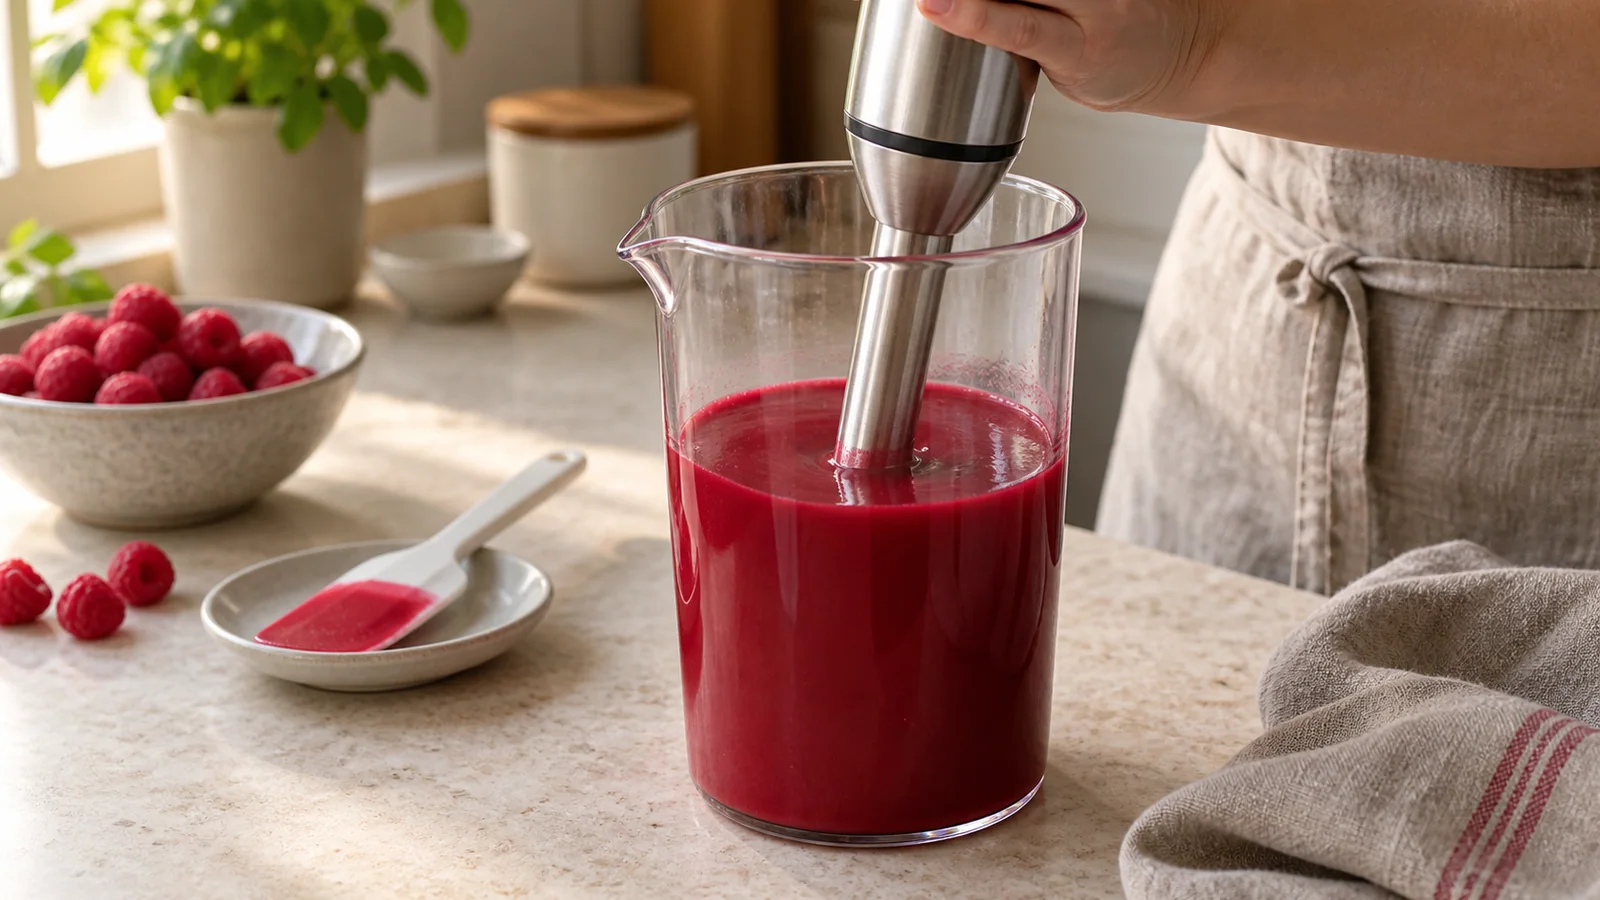
An immersion blender can combine the glaze smoothly when the head remains beneath the surface. Use a container that allows adequate depth and control. Avoid repeatedly lifting the running blade through the surface, which can draw in air. Move only as much as needed to combine the mixture evenly.
Do not whisk vigorously for reassurance once the glaze is already homogeneous. That can add the bubbles you are trying to avoid. Follow the recipe’s resting and straining steps where specified. A suitable sieve may catch particles and reduce some surface defects, but straining is not a guarantee that a heavily aerated mixture becomes perfect. Preventing excessive air during mixing is the more useful starting point.
Use temperature and flow together
Mirror glaze recipes vary, so their working temperatures are not interchangeable. Measure the glaze as your recipe requires, stir gently to even out temperature and inspect how it flows. A measurement taken in one warmer or cooler pocket can mislead you if the rest of the jug has not been mixed evenly.
A glaze that is too cool for its formula may be thick and leave ridges; one that is too warm may run too freely or affect the mousse surface. Adjust gently within the method rather than applying repeated large heating bursts. If the temperature appears correct but the texture remains wrong, review the ingredient weights, gelatin product and preparation sequence before diluting the glaze.
Check the specified gelling ingredient before changing a glaze formula.
Prepare a smooth, thoroughly frozen cake
The cake needs to match the coating method. For a frozen mousse cake, unmould it cleanly and inspect the surface before glazing. Deep dents, tears or protruding crumbs can remain visible beneath the finish. The glaze is a coating, not a reliable filler for structural damage.
Keep the cake in the freezer until the glaze, stand and catch tray are ready. A thawing surface or frost can interfere with the result. Deal with surface issues using the appropriate clean handling method, without rubbing or warming the mousse unnecessarily. A well-prepared cake gives you a fair way to judge the glaze; a wet, damaged surface makes several causes look alike.
Plan freezing and unmoulding so the cake is ready at the same time as the glaze.
Pour with a complete setup
Place the cake on a stable support over a clean catch tray and check that you can reach it comfortably. Pour with a controlled, continuous movement that covers the surface as your method directs. Pausing repeatedly or returning to half-set areas can create waves and uneven layers. Prepare enough glaze as your recipe directs before you begin.
Let excess coating drain to the intended stage, then tidy the lower edge carefully and transfer the cake. Avoid touching a setting surface in an attempt to polish it. If you collect runoff, keep it separate until you assess its cleanliness and suitability for reuse. Glaze that has collected crumbs or other contamination should not automatically return to the original batch.
Assess the finish after the full process
A smooth coating can still change during thawing and storage. Protect the cake as required by its recipe so the surface does not dry unnecessarily or collect unwanted moisture. Excessively firm or rubbery glaze can involve formulation as well as storage; simply making the next batch hotter does not address an incorrect amount of gelatin.
Keep notes on the glaze formula, blending method, measured working stage, cake condition and final texture. If you need another trial, change the strongest suspected cause first. Do not add syrup, water or gelatin in arbitrary amounts to chase a visual symptom. Test a known formulation on a small suitable sample before coating another complete cake.
Common questions
Can I fix bubbles by straining mirror glaze?
Straining may help remove particles and some bubbles, but it may not remove fine foam throughout the mixture. Keep air out during blending and follow the resting stage in your recipe so you address the cause as well as the appearance.
Should I pour a second coat over an uneven first layer?
A second coat can add ridges, thickness and weight rather than creating a smooth finish. Evaluate the first layer and the cake’s condition before intervening. For the next attempt, correct flow and surface preparation before pouring.
Keep exploring
All pastry guides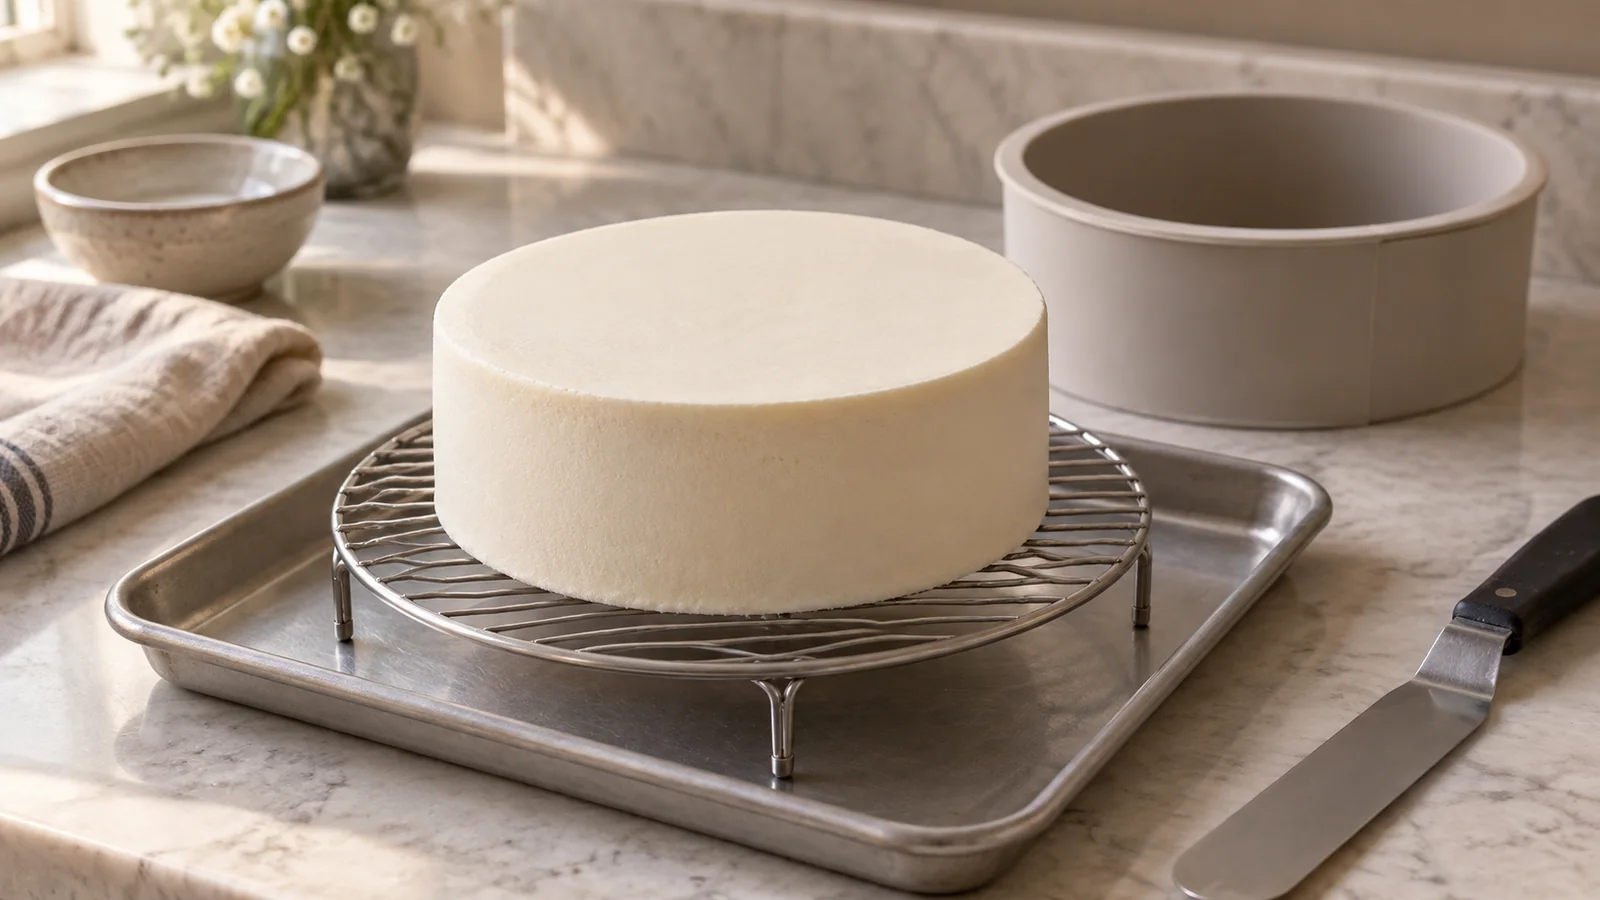
Freezing a Mousse Cake Before Glazing: What to Check
Plan the freezing stage for a moulded mousse cake, check release and surface condition, and coordinate glazing with a controlled refrigerator thaw.
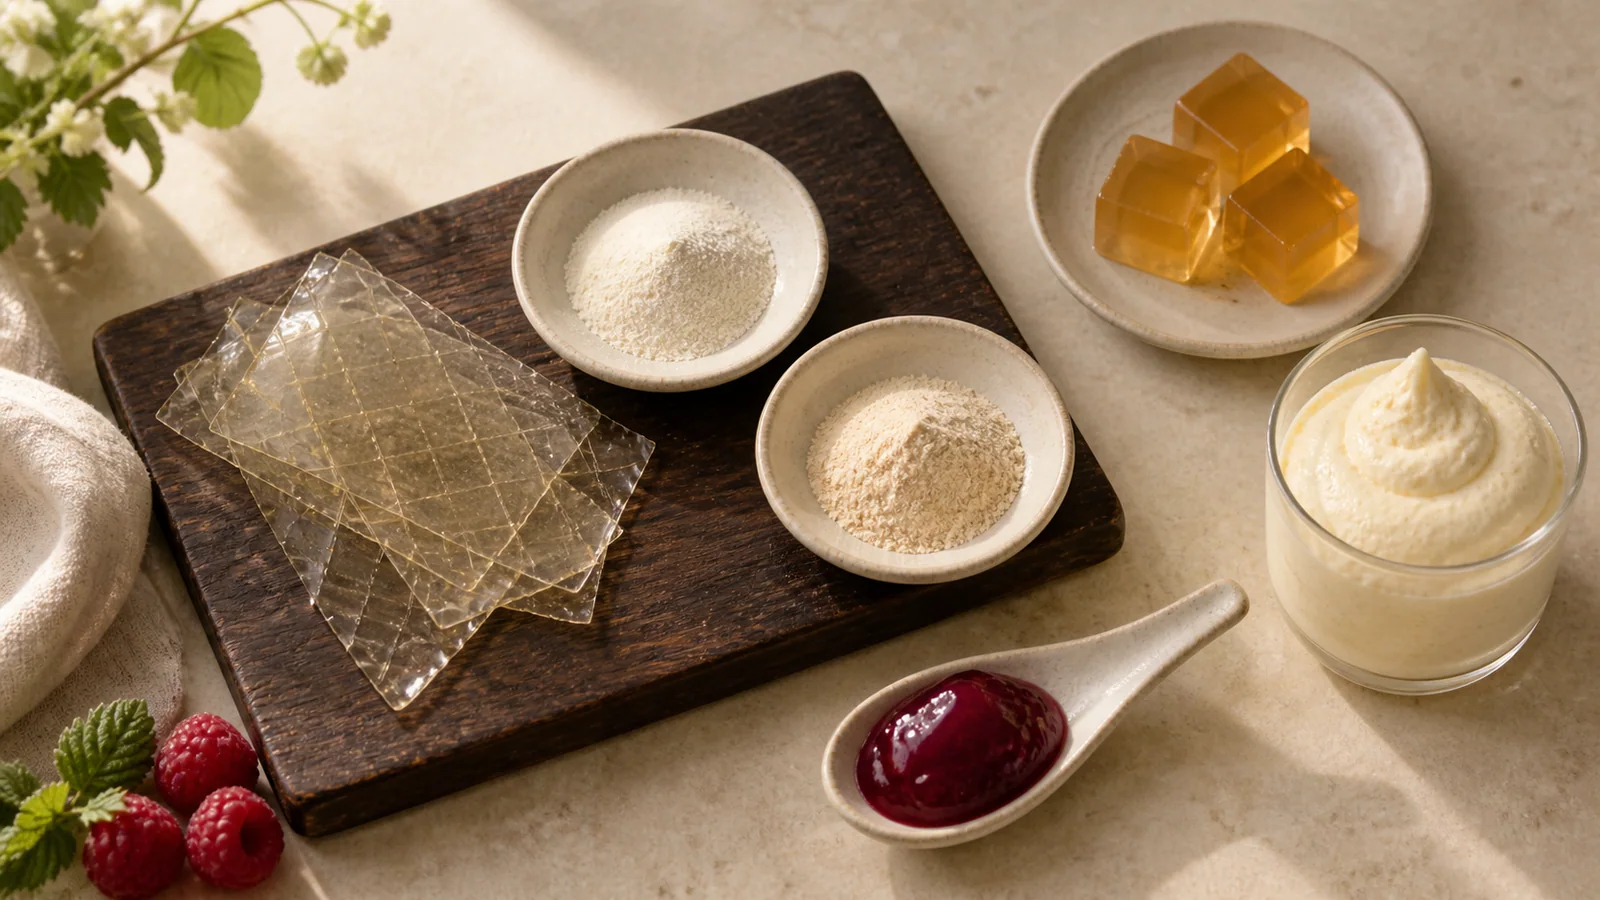
Gelatin, Agar and Pectin: Which One Does Your Dessert Need?
Gelatin, agar and pectin create different dessert textures. Compare their roles, preparation and substitution limits before changing a mousse or fruit filling.
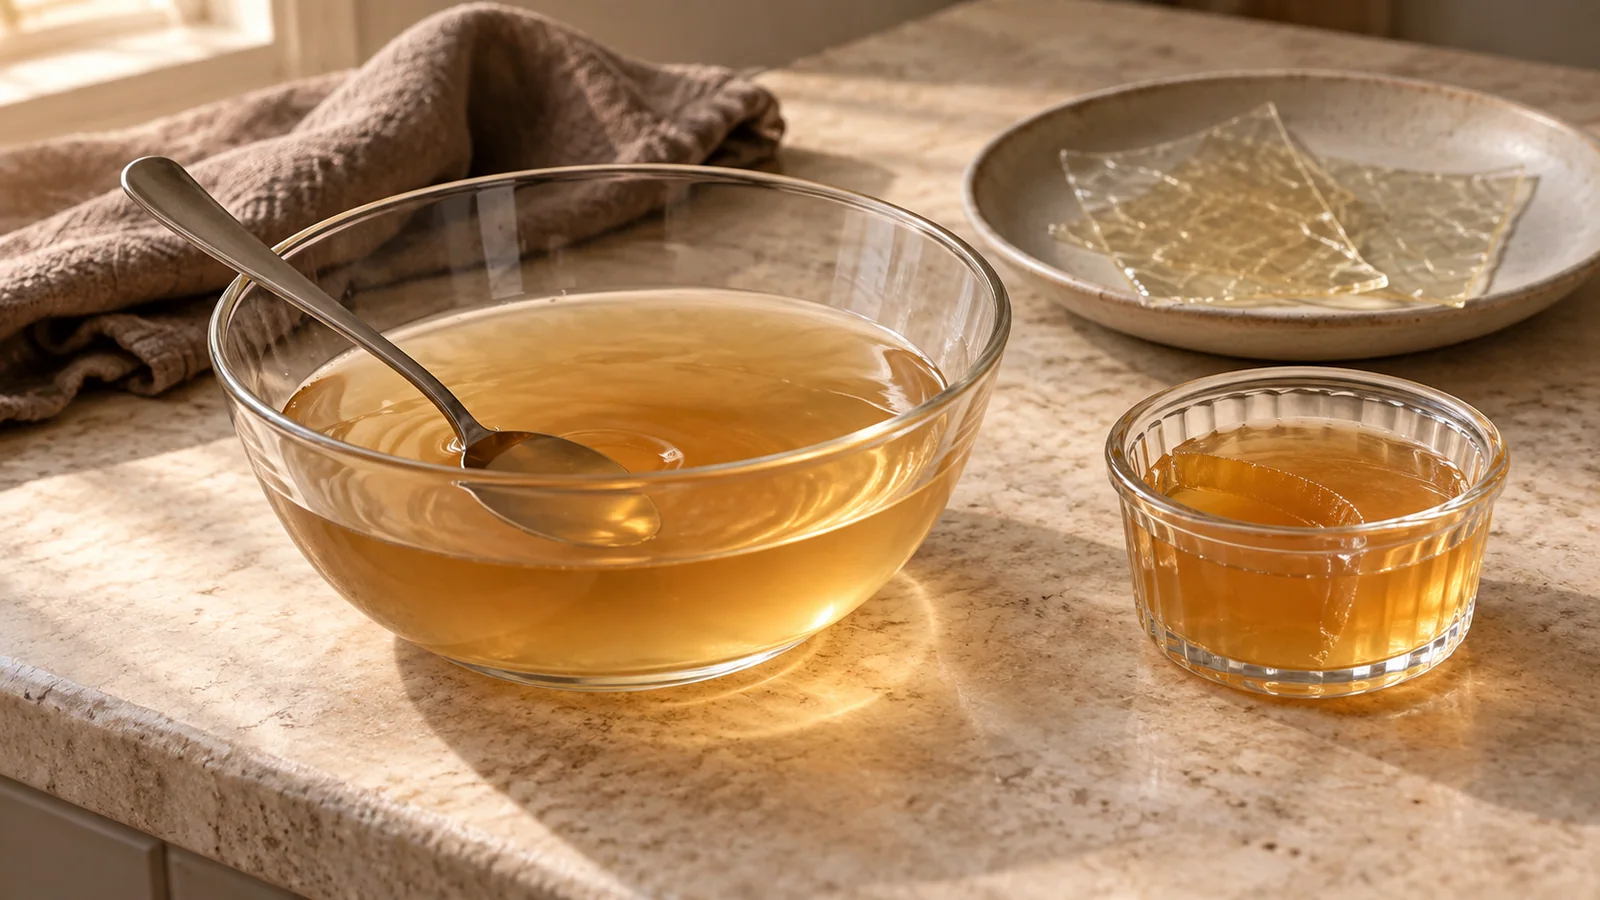
Why Is My Gelatin Not Setting?
Gelatin still liquid, lumpy or weak? Check hydration, dissolution, strength, ingredients and chilling before changing the amount in your dessert.
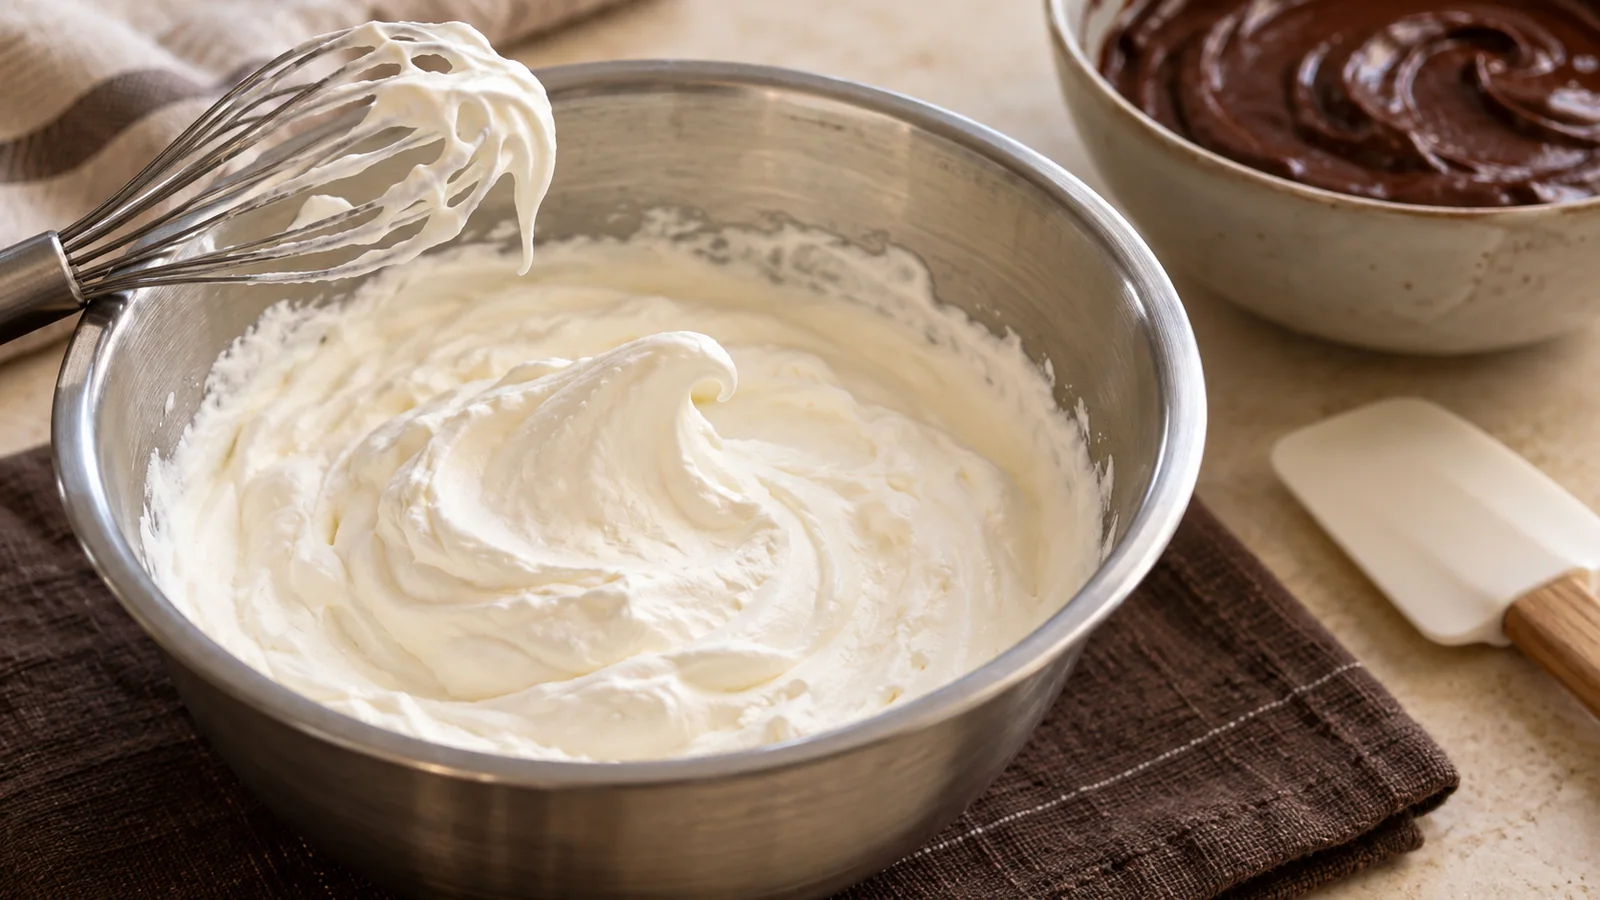
How to Whip Cream for Mousse: Soft Peaks and Smooth Folding
Whip cream to the stage your mousse needs: smooth, aerated and easy to fold. Learn peak cues, temperature control and the signs to stop mixing.