
Freezing a Mousse Cake Before Glazing: What to Check
A moulded mousse cake intended for mirror glaze usually needs to be thoroughly frozen so it releases cleanly and holds its shape during coating. Follow the recipe’s freezing stage and assess the whole cake, not only the surface. Freezing time depends on the cake and freezer, and a frozen cake still needs a planned thaw before serving.
Explore Mousse Cakes Made Simple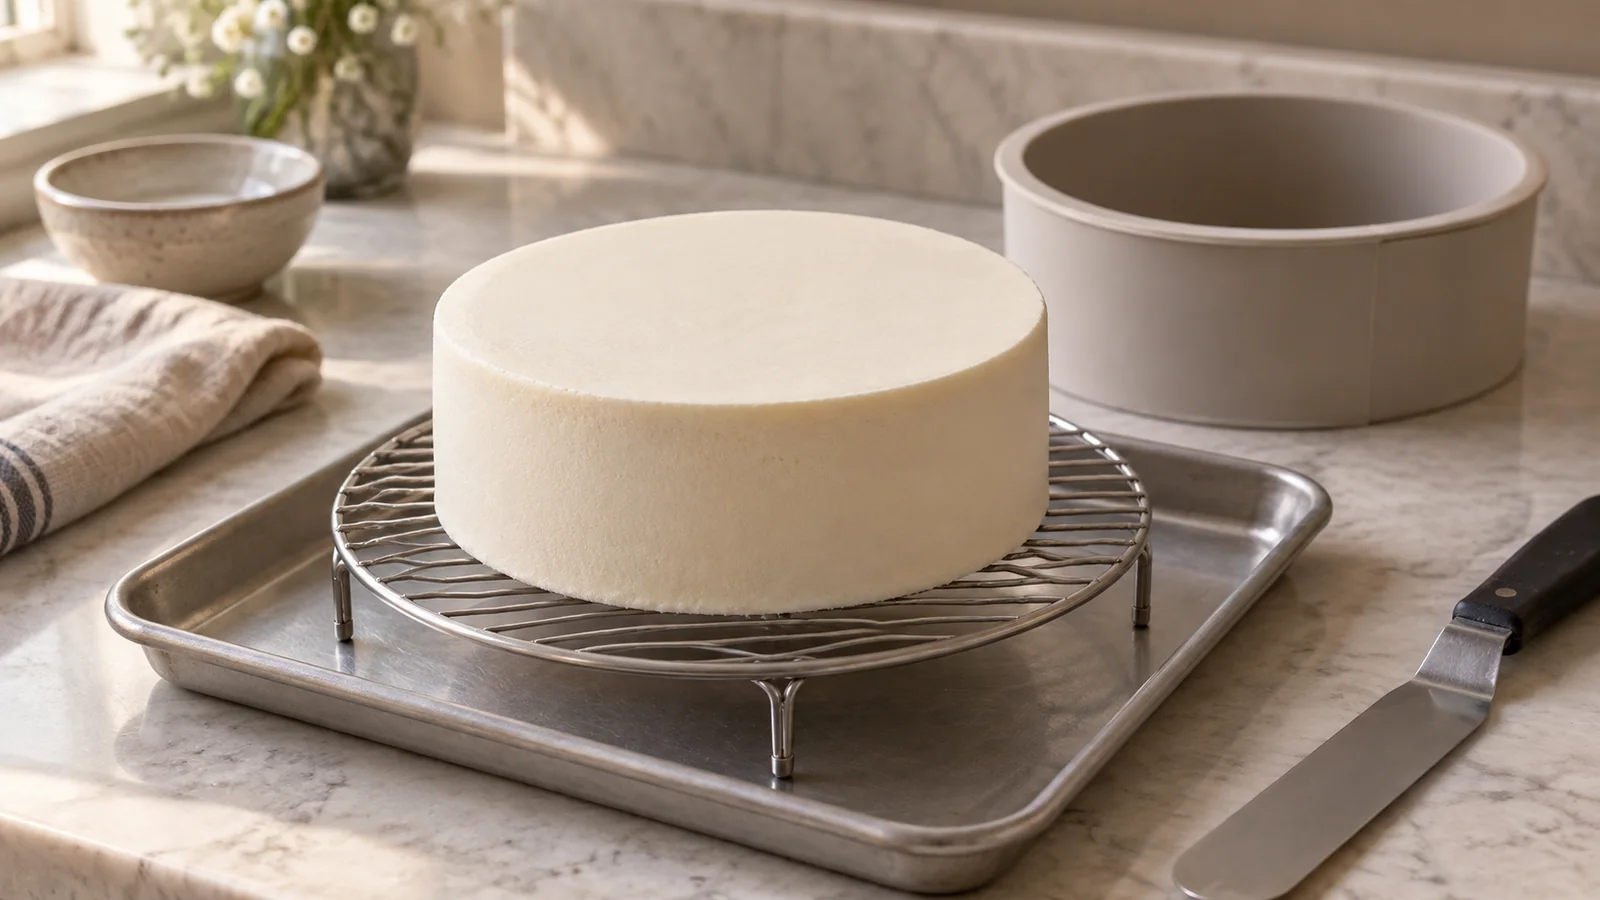
Understand what freezing is doing
For a moulded mousse cake, freezing is a handling stage. It helps the delicate dessert become firm enough to remove from its mould and provides the cold surface required by the chosen coating method. It is not the reason gelatin can set: a gelatin-based mixture develops a chilled set without requiring a freezer in every application.
Start with a cake recipe designed for this process. A mousse served in glasses may need a different texture and handling sequence from an entremet that must stand without its mould. Do not assume that any dessert called mousse can be frozen, unmoulded and glazed with the same result. The base, inserts and finish all need to suit the plan.
Prepare the freezer before assembling
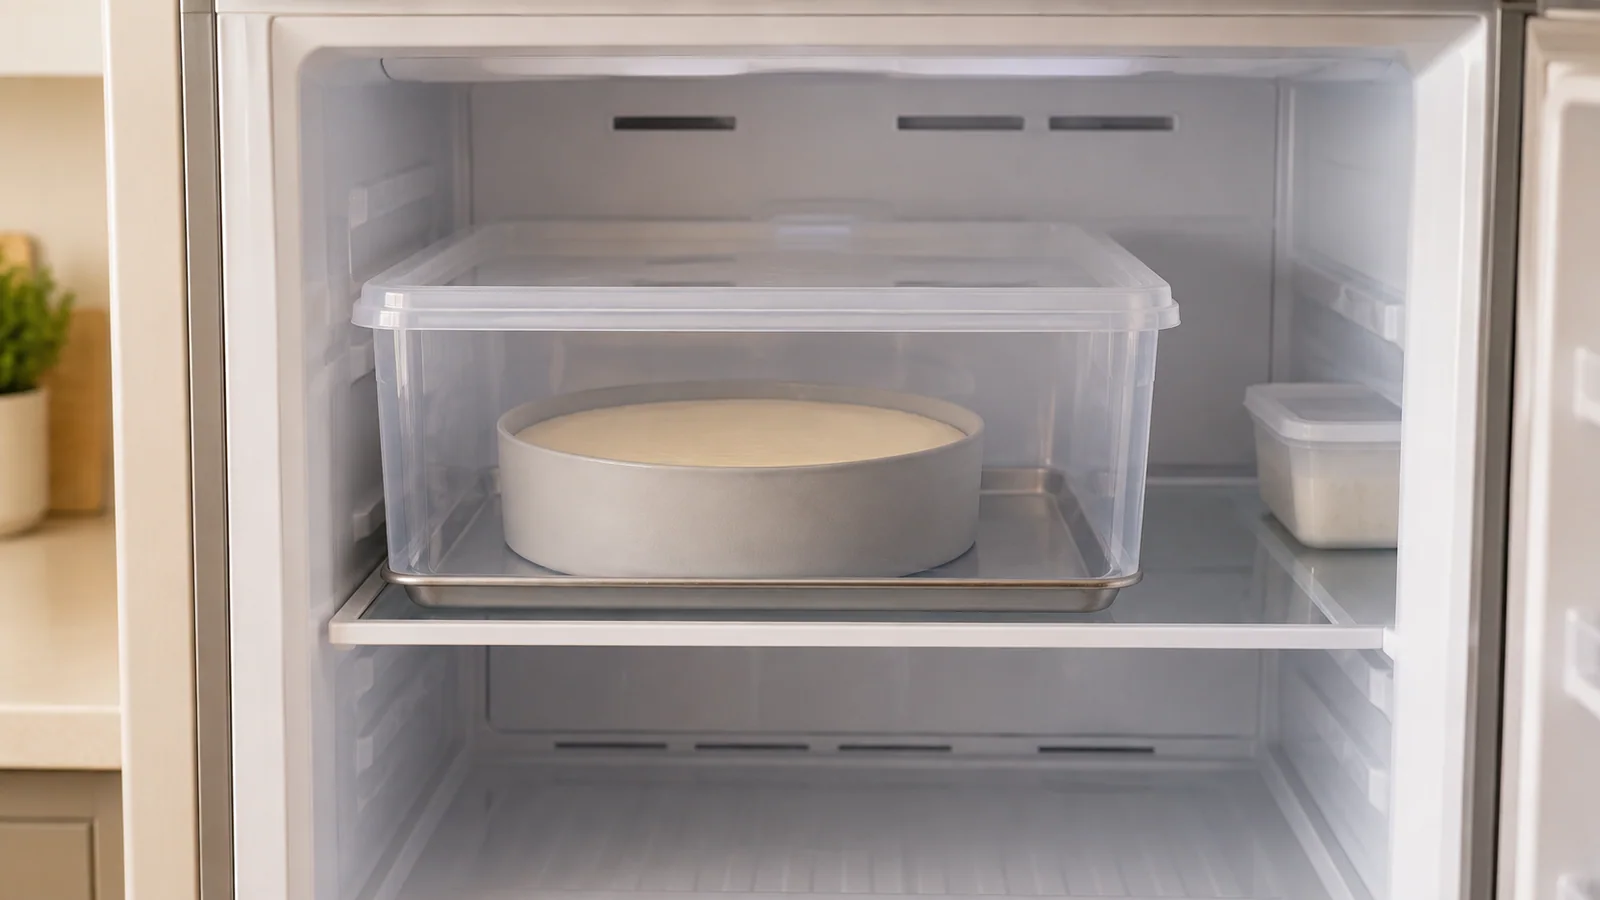
Make a level space large enough for the mould and its supporting tray. The soft cake should not have to bend around other containers or sit at an angle. Check that the tray is stable and that the mould will not distort as you move it. This is much easier to solve before it contains mousse.
Protect the cake from odours and accidental contact using suitable food-safe covering or storage equipment. Plan how you will cover it without pressing material into a still-soft surface. Avoid overcrowding the area or repeatedly moving the mould during the initial freeze. Keep the freezer operating correctly and account for the other food stored there as part of the setup.
Allow for the cake you are actually making
A tall cake, a large diameter or a substantial insert can change how long the centre takes to freeze. Freezer loading, airflow and performance also affect the process. The schedule for a small individual dessert is therefore not a dependable timer for a large cake. Begin with the recipe’s guidance and allow a practical margin in your production plan.
For a new mould or cake thickness, validate the schedule on a trial cake before a time-sensitive bake. Record the mould dimensions, component thicknesses, insert and freezer conditions. Test the complete release, glazing and refrigerated thaw before relying on that schedule. The first readiness check for an unfamiliar cake should not happen while you are trying to finish an urgent order.
Do not repeatedly remove the cake to check it, warm it in the room, then return it to the freezer. That makes conditions less consistent. If the exterior feels firm but the cake distorts during release, the surface alone has not given you a sufficient readiness test.
Investigate the mousse formulation if the cake will not hold after thawing.
Unmould only when the next stage is ready
Before taking out the cake, prepare the glaze, support, catch tray, tools and destination for the finished dessert. Check the glaze against its own recipe and working conditions. The frozen cake should not wait on the counter while you begin blending or searching for a suitable stand.
Use the release method intended for the mould. Peel a flexible mould carefully away from the cake rather than squeezing the dessert itself. If it deforms or tears, stop and reassess readiness and technique. Inspect the surface for damaged areas, frost or loose particles before coating. Handle it with clean tools or suitable gloves and avoid prolonged contact that warms or marks the mousse.
Prepare mirror glaze flow and remove bubbles before the cake leaves the freezer.
Coordinate glazing and the refrigerated thaw
Glaze using the method and temperature window specified for your formulation. The cake and glaze must reach their working stages together: a frozen cake cannot compensate for an unsuitable glaze, and an excellent glaze cannot repair a collapsing cake. Let excess coating drain as directed, then transfer the dessert carefully to its board or plate.
Plan the thaw in the refrigerator as the complete cake recipe directs. A dessert that is attractive outside can still have a frozen centre, especially around a thick insert. Serving readiness and storage safety are separate from the ability to demould. Keep the cake protected and follow the handling requirements of its dairy, egg, fruit and other components.
Avoid using repeated freezing as a repair
Repeated freezing and thawing can affect the texture of mousse, inserts and coating. Do not make it the default response to a damaged finish or a cake that will not set as expected. Establish whether the problem comes from the formulation, assembly or the handling sequence before choosing another use for the components.
Freezing also does not make an improperly handled dessert safe. Record the preparation, freezing and thawing stages for your batch, and use the storage plan appropriate to the recipe. For the next cake, keep the successful mould size, component thickness and freezer setup in your notes. That gives you a practical basis for scheduling without pretending that one number fits every mousse cake.
Common questions
Can I glaze a mousse cake straight from the refrigerator?
For a recipe designed around a frozen moulded cake, refrigeration alone may not give the required release, firmness or surface condition. Follow that method. A different chilled dessert needs its own suitable coating process.
How many hours does every mousse cake need in the freezer?
There is no single reliable time for all sizes and freezer conditions. Use the schedule for your recipe and equipment, and confirm that the cake is thoroughly frozen before attempting the intended release and coating.
Keep exploring
All pastry guides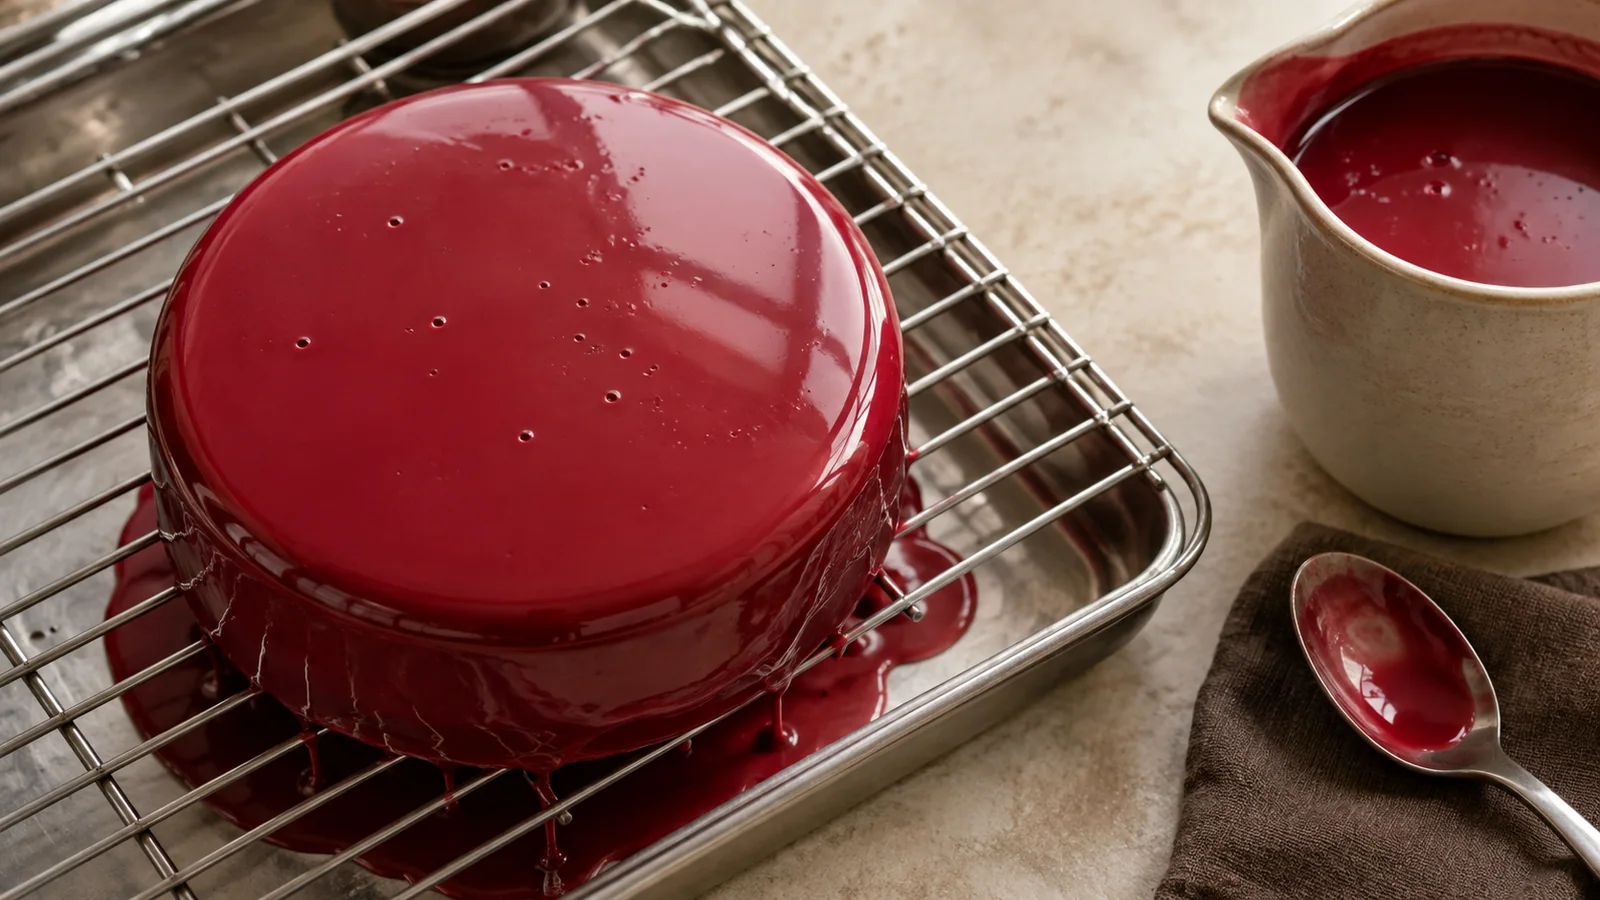
Mirror Glaze Bubbles and Thickness: A Practical Troubleshooting Guide
Mirror glaze full of bubbles, too thick or sliding off? Check blending, recipe-specific working conditions and the frozen cake before pouring.
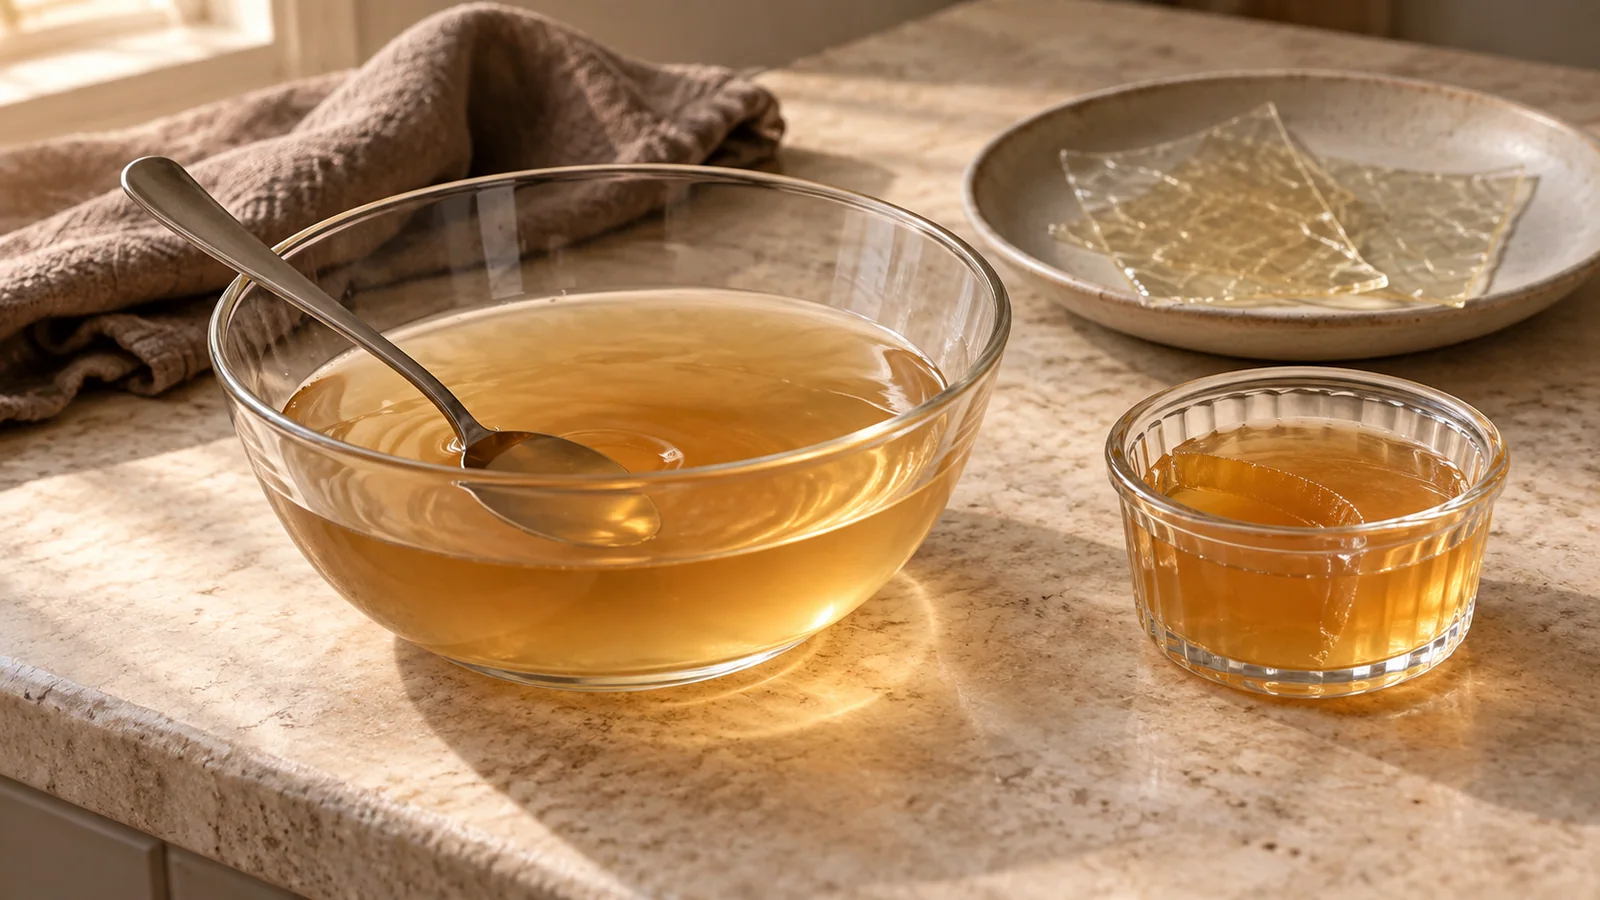
Why Is My Gelatin Not Setting?
Gelatin still liquid, lumpy or weak? Check hydration, dissolution, strength, ingredients and chilling before changing the amount in your dessert.
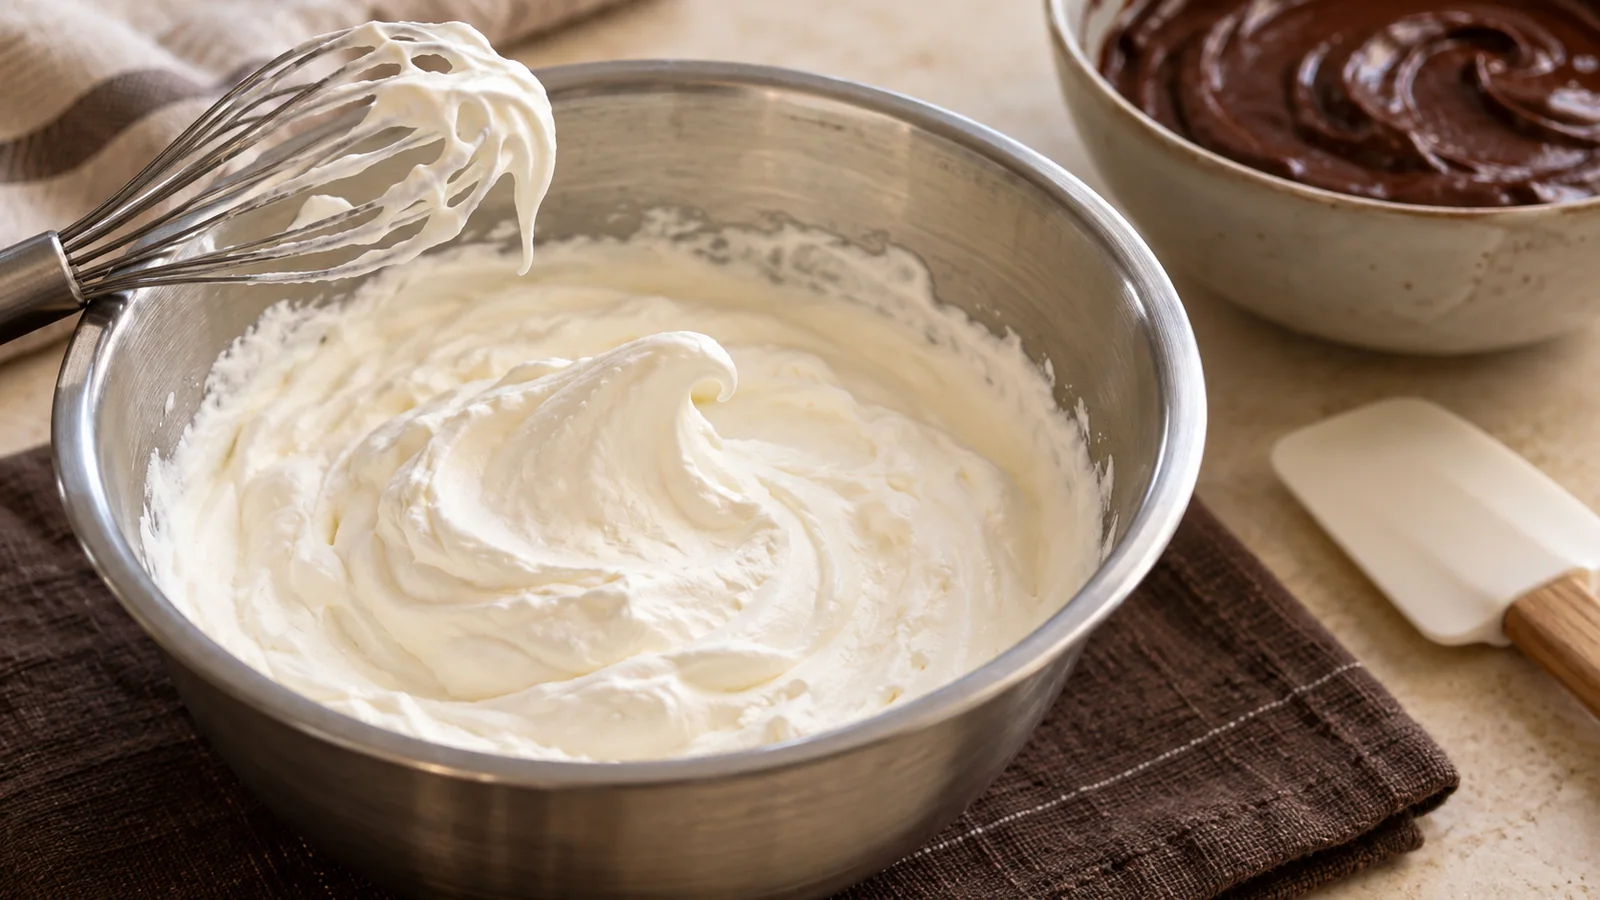
How to Whip Cream for Mousse: Soft Peaks and Smooth Folding
Whip cream to the stage your mousse needs: smooth, aerated and easy to fold. Learn peak cues, temperature control and the signs to stop mixing.
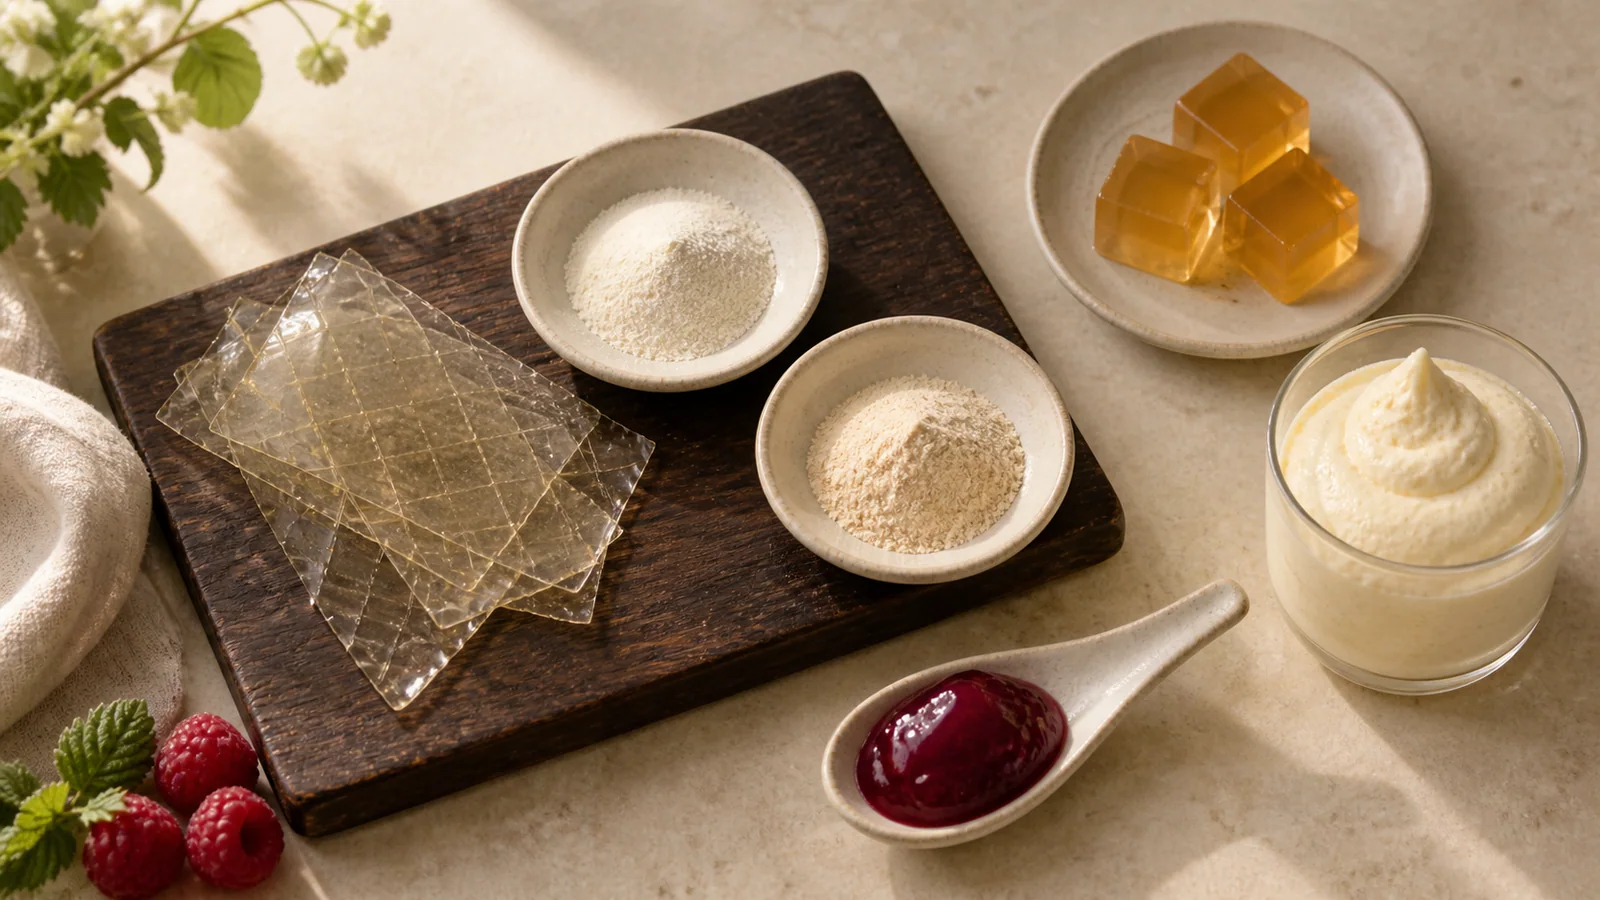
Gelatin, Agar and Pectin: Which One Does Your Dessert Need?
Gelatin, agar and pectin create different dessert textures. Compare their roles, preparation and substitution limits before changing a mousse or fruit filling.