
Chocolate
How to Temper Chocolate: Seeding, Tabling and Cocoa Butter
Tempering controls how cocoa butter crystallises so chocolate sets with a firm texture and a clean finish. Melt it, cool it while introducing or developing suitable crystals, then use it within its working range. Follow the curve for your particular chocolate and test a small smear before filling moulds or coating a full batch.
7 min read
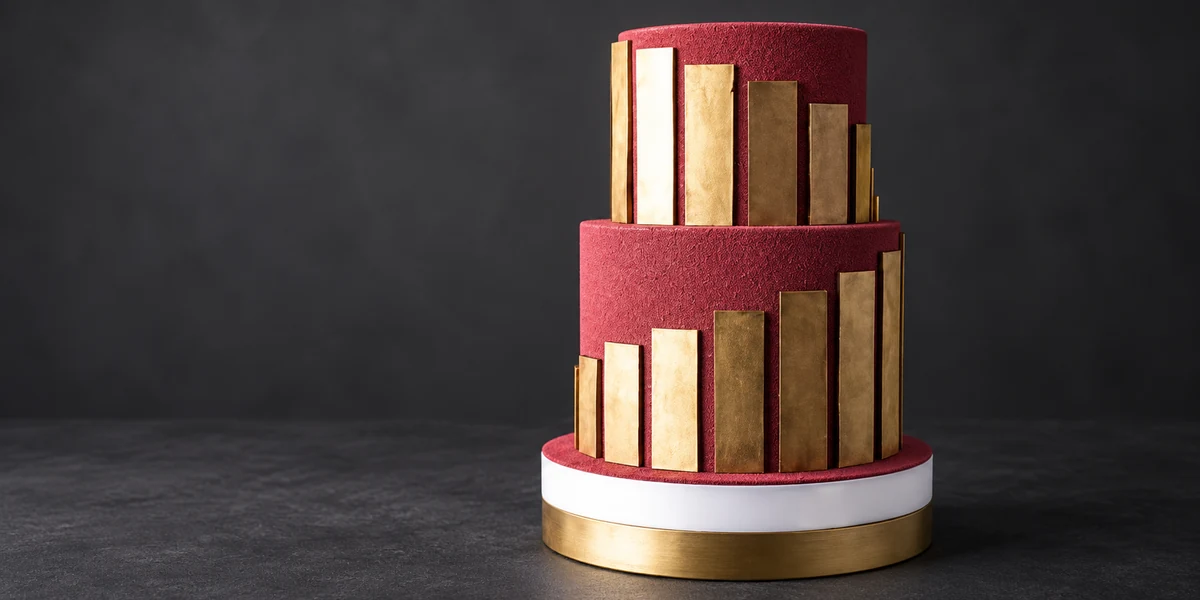
When chocolate needs tempering
Tempering matters when chocolate itself forms the finished shell, coating or decoration. Moulded pieces, thin plaques and dipped chocolates benefit from a controlled set and contraction that helps them release from moulds.
Chocolate mixed into a mousse or ganache has a different role. Those recipes usually call for melting and emulsifying rather than tempering the chocolate as a separate shell.
A tempered piece can still soften in a warm hand or hot room. Tempering does not make chocolate heatproof, and a glossy appearance also depends on mould condition and handling.
Prepare the workspace before melting
Work in a cool, dry room, ideally around 18–22°C (64–72°F) as a practical starting environment. Clean and dry the bowls, spatulas and moulds. Water droplets can thicken or seize melted chocolate.
Use a reliable thermometer suitable for the temperature range. An infrared instrument reads the surface, so stir thoroughly before checking; a suitable clean, dry probe can also be useful. Do not rely on a medical thermometer or the thermostat display alone.
Choose real chocolate with cocoa butter and a fluidity suited to the intended job. A plain chocolate bar can be temperable; the issue is its formulation and behaviour, not simply whether it came from a supermarket. Compound coating follows its own instructions and is not handled as cocoa-butter chocolate.
Separate water-related seizing from ordinary thickening during crystallisation.
Use the chocolate's own temperature curve
There is no single exact temperature sequence for every chocolate. Dark, milk and white products differ, and the same colour can cover several formulations. Read the curve supplied for the chocolate you are using before heating it.
As a broad orientation, dark chocolate is often used around 31–32°C (88–90°F), milk around 29–30°C (84–86°F) and white around 28–29°C (82–84°F). These are working ranges, not universal melting or cooling targets.
The number on the thermometer is only one check. Time, movement and the state of the crystals matter too, which is why a small temper test is more useful than declaring success from temperature alone.
Method 1: Seed with already-tempered chocolate
Reserve a portion of unmelted, properly tempered chocolate from the same product. A starting split such as 75–80% for melting and 20–25% reserved can be useful, but the amount that actually needs to be added depends on batch size, seed temperature and the room.
Melt the larger portion gently to its specified melting temperature. In a microwave, use short bursts of around 10–15 seconds and stir between them, shortening the bursts as it melts. With a water bath, keep steam and water out of the bowl.
Remove from the heat and add reserved chocolate in stages while stirring thoroughly. Watch both temperature and remaining pieces. If every piece disappears immediately while the mass is still too hot, more seed or further cooling may be needed.
Bring the mixture into the product's working range. Remove any stubborn unmelted seed pieces rather than leaving lumps in a thin decoration. Make a test smear before using the chocolate. Maintain gentle movement and monitor the temperature while you work.
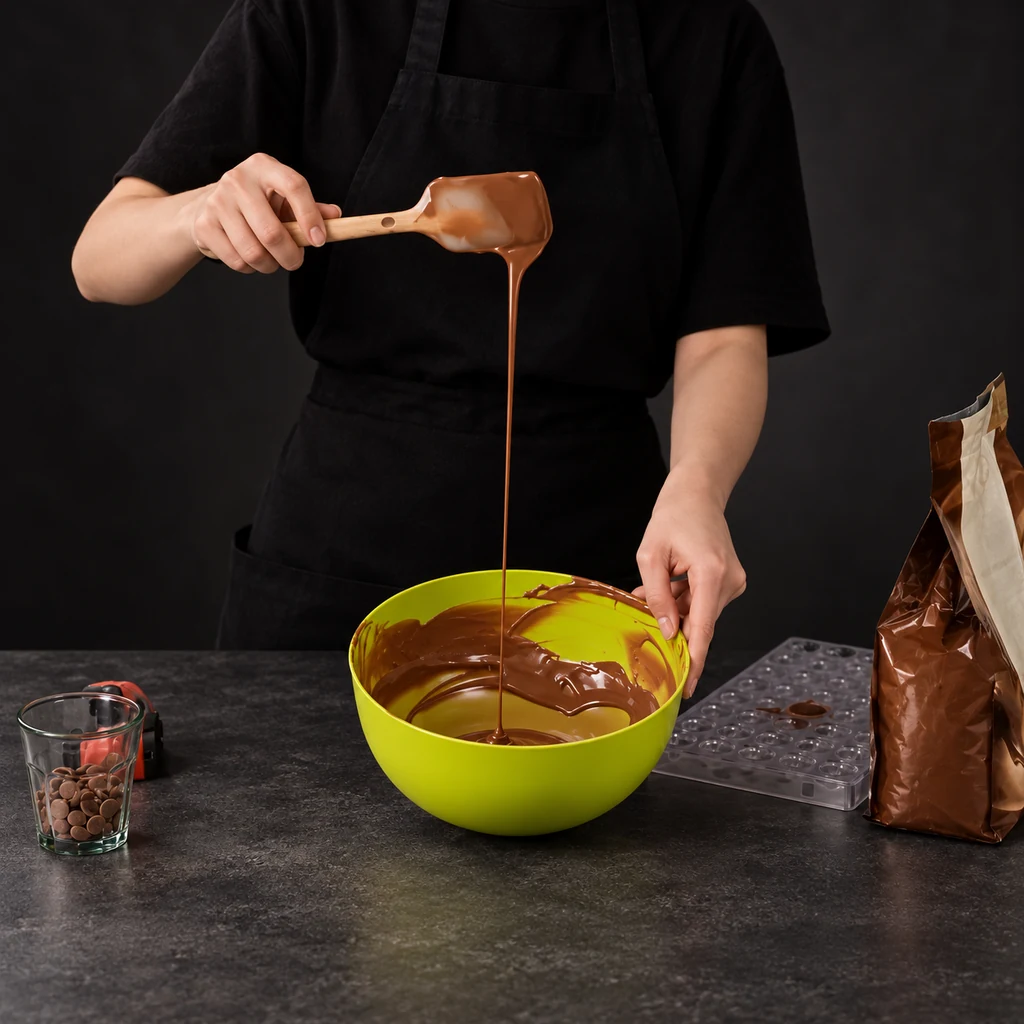
Use particularly gentle melting when working with white chocolate.
Method 2: Cool part of the chocolate on a stone surface
Tabling uses a clean, dry, food-safe marble or granite surface to cool part of the melted chocolate. Use food-safe tools dedicated to pastry; a tool sold for building work is not automatically suitable for food contact.
Melt the batch according to its curve. Leave roughly one-fifth warm in the bowl and pour the rest onto the prepared stone. Spread and gather it repeatedly with a scraper, checking the temperature as you work.
Once the tabled portion reaches the cooling stage specified for that chocolate and shows the appropriate thickening, return it to the bowl. Mix thoroughly and check the combined temperature. Warm gently if needed to reach the working range without overshooting.
Test a small smear. If the batch has been overheated or the test fails, correct the crystallisation before filling the moulds. Keep the temperature controlled and work steadily.
Method 3: Use a pre-crystallised cocoa-butter powder
This method uses a product made specifically for seeding chocolate. Ordinary melted cocoa butter is not interchangeable with a pre-crystallised powder.
For the common 1% powder method, melt the chocolate, then let it cool to the addition temperature specified for the powder: typically 34–35°C (93–95°F) for dark and 33–34°C (91–93°F) for milk or white. Add 1 g powder per 100 g chocolate and mix until evenly dispersed.
Let the chocolate reach the appropriate working range and make a temper test. Follow the instructions for the actual powder and chocolate combination; different seeding products may use a different dose or process.
| Chocolate weight | Powder at 1% |
|---|---|
| 100 g | 1 g |
| 250 g | 2.5 g |
| 500 g | 5 g |
| 1,000 g | 10 g |
Test before committing the whole batch
Spread a thin smear on a clean spatula or a small piece of suitable parchment. In a suitably cool room it should begin setting evenly within a few minutes, without remaining tacky or developing obvious streaks. Thickness and room conditions influence the timing.
If the test is satisfactory, use the chocolate promptly while keeping it in its working range. Tap moulds gently to release bubbles, and remove excess chocolate cleanly where the design requires it.
Allow the pieces to set fully before trying to release them. A surface that no longer sticks to a finger does not prove the whole moulded piece is ready. Avoid repeated handling, sudden temperature swings and condensation.
Check contraction, mould condition and setting before forcing a piece out.
What streaks, softness and thickness can tell you
Pale streaks can follow from poor crystallisation, but storage conditions can also change the surface later. Note whether the marks appeared during setting or only after the finished pieces were stored.
A mixture that gradually becomes thicker while you work may be building too many crystals. Gently adjust within the permitted working range and test again. Do not automatically add water, cream or unmeasured cocoa butter to thin it.
If chocolate has been scorched, changing the temper will not remove the burnt flavour. If it has seized from water, that is another problem again. Diagnose the change before repeating the same heating cycle.
| Observation | First question |
|---|---|
| Streaks as it sets | Was the temper test successful before use? |
| Soft or tacky at a cool room temperature | Was crystallisation established and maintained? |
| Gradual thickening during work | Has the batch cooled or become over-crystallised? |
| Sudden grainy clump | Could water or excessive heat be involved? |
| Marks after storage | Were there temperature swings or condensation? |
Distinguish fat bloom from sugar bloom before deciding what to change.
Common questions
Can I temper chocolate without a thermometer?
Experienced handling can give clues, but a reliable thermometer and a temper test make the process far more repeatable. They are especially useful while learning.
Does every chocolate use the same temperature curve?
No. Use the curve for the exact product. The dark, milk and white working ranges here are orientation points, not replacements for the manufacturer's instructions.
Can a plain supermarket chocolate bar be tempered?
It may be, if it is real chocolate with cocoa butter. Formulation and fluidity matter; avoid assuming that every bar or every chocolate chip behaves like couverture.
Is compound coating tempered the same way?
Usually it follows a different fat system and its own melting instructions. Do not apply a cocoa-butter chocolate curve automatically.
Does tempered chocolate never melt in the hand?
No. It is still chocolate and can soften with warmth. Tempering improves the set and handling characteristics but does not make it heatproof.